Fresh Tomato Shakshuka (North African Poached Eggs)
Posted by Mira on October 6, 2026 in recipes

This Fresh Tomato Shakshuka is easily one of my kids' absolute favorite meals. There is something comforting about a big cast-iron skillet bubbling with tangy, rich tomato sauce, warm aromatic spices, and tender poached eggs with runny, golden yolks.
While many shakshuka recipes rely on canned tomato puree, taking a few minutes to peel fresh Roma tomatoes makes an incredible difference. As fresh tomatoes cook down, they develop a naturally sweet, velvety sauce that canned tomatoes simply cannot match.
Best of all, this is a true one-skillet dish. You make everything in one pan and bring the hot skillet straight to the dining table for everyone to dig in!
(I also shared my Chinese version of this recipe over on XiaChuFang 下厨房).
Ingredients & Equipment
Ingredients
- 7–8 fresh Roma tomatoes (or 1 large can whole peeled tomatoes if fresh are out of season)
- 4–8 large eggs (we have a big family, so I often crack in up to 10 eggs!)
- ½ to 1 medium onion, finely diced
- 2 tbsp cooking fat (butter, beef tallow, ghee, or olive oil)
- 3 cloves garlic, finely minced
- ½ tbsp ground cumin (孜然粉)
- ½ to 1 tbsp smoked paprika (烟熏红椒粉)
- Sea salt, to taste
- Freshly ground black pepper, to taste
- Crushed chili flakes or diced chili, to taste (optional for a gentle kick)
Equipment
- Lodge Cast Iron Skillet (or any wide, deep nonstick/stainless skillet)
- A fitted glass lid for the skillet
- Wooden spatula or spoon for crushing tomatoes
Step-by-Step Instructions
1. Peel the Fresh Tomatoes
Using a sharp paring knife, gently score a shallow "X" on the bottom of each Roma tomato. Place them in a heatproof bowl and cover with boiling water for 1–2 minutes until the skin starts curling back at the edges.
Drain and let cool slightly—the skins will slip right off effortlessly.
(Because our family loves tomatoes, I usually toss in a couple extra!)
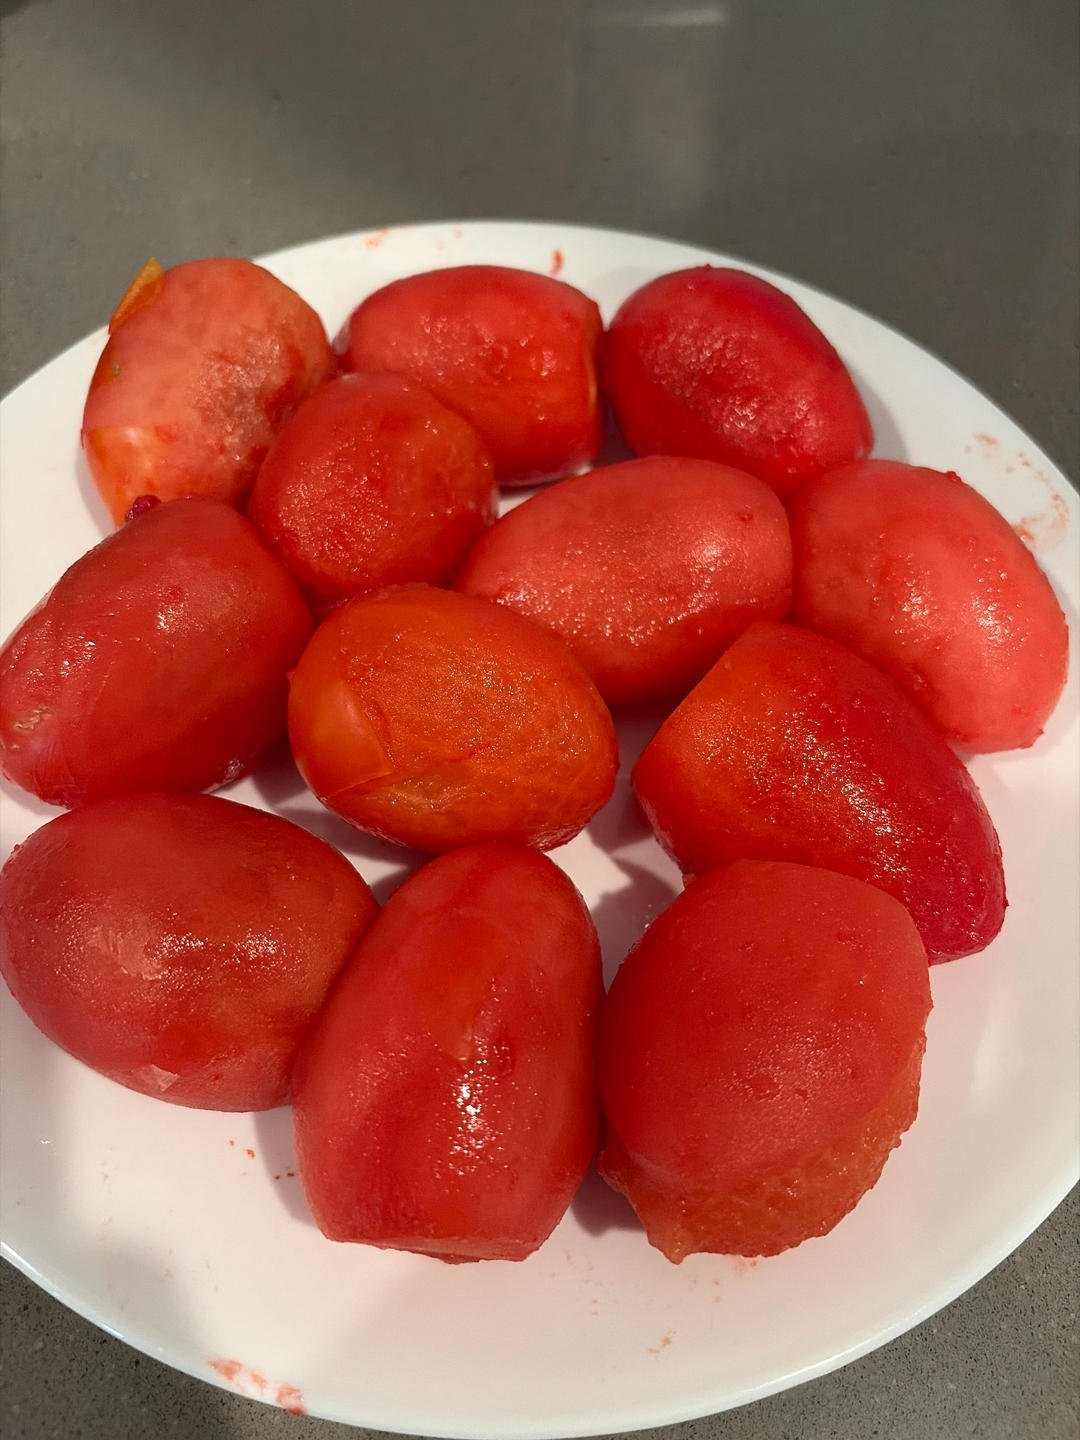 Score and soak fresh Roma tomatoes in hot water to easily slip off the skins.
2. Sauté the Onions
Heat 2 tablespoons of oil, butter, or beef tallow in your cast iron skillet over medium heat. Add the diced onion along with a small pinch of salt.
Sauté for 5–8 minutes, stirring occasionally, until the onions soften, turn translucent, and take on a light golden color. The pinch of salt draws out moisture, helping the onions soften smoothly without burning.
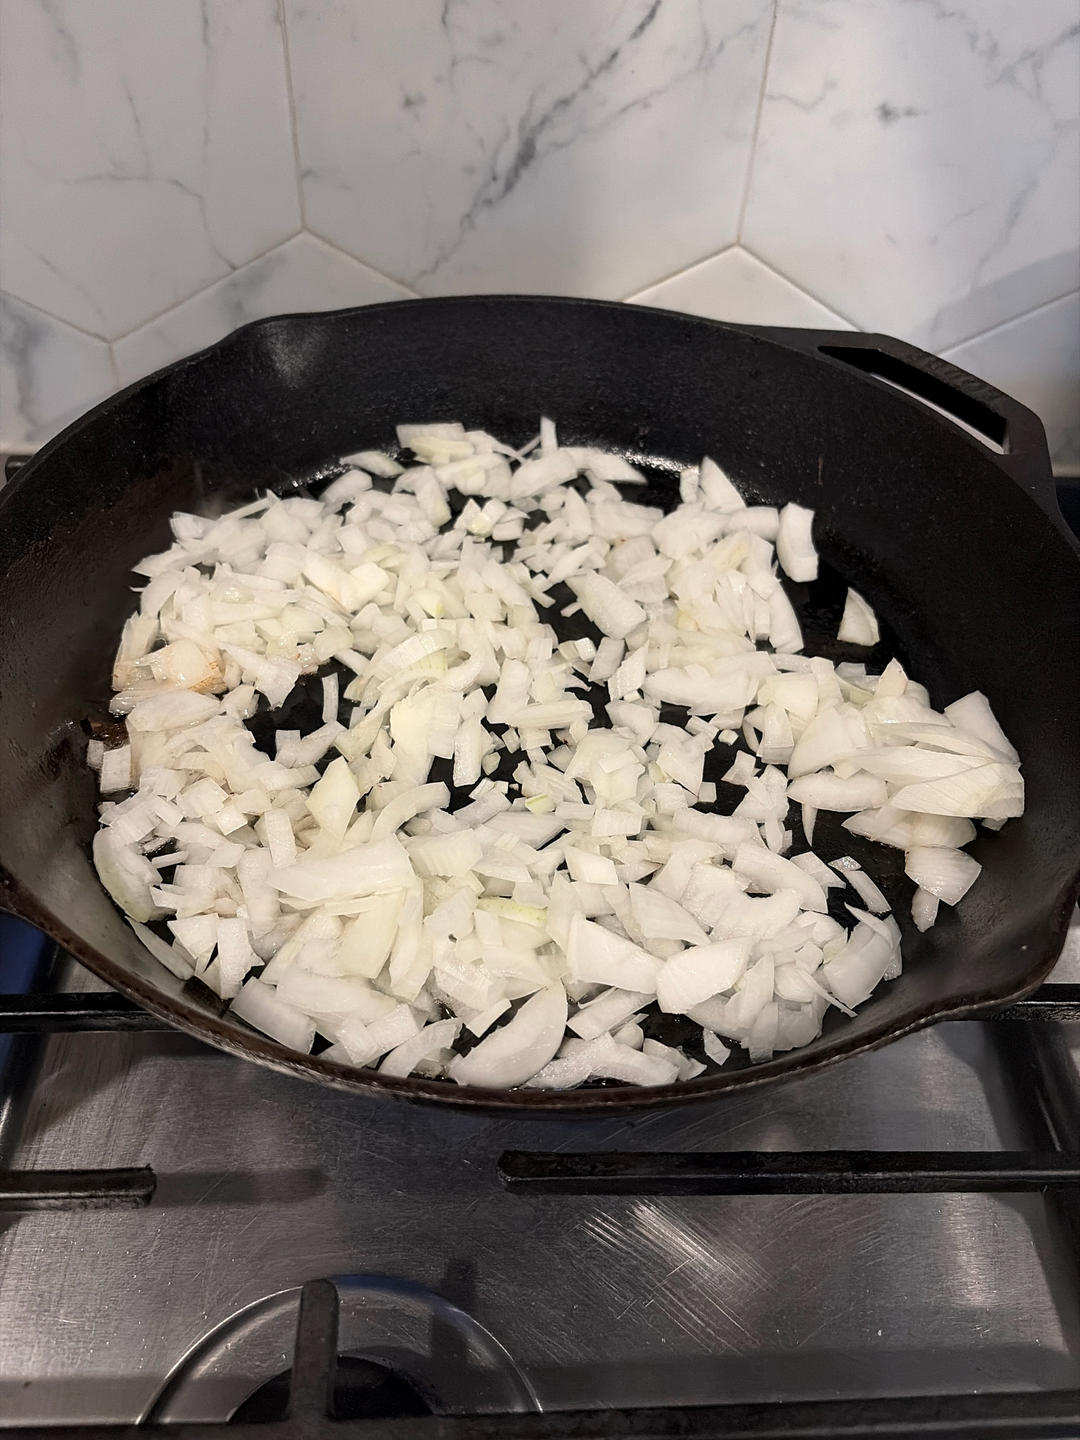 Sauté the onions with a pinch of salt until soft and fragrant.
3. Bloom the Spices & Garlic
Add the minced garlic, cumin powder, smoked paprika, freshly cracked black pepper, and chili flakes into the skillet.
Quickly stir-fry for about 30 seconds until the spices bloom and release their fragrant aroma. Be careful not to let the garlic burn.
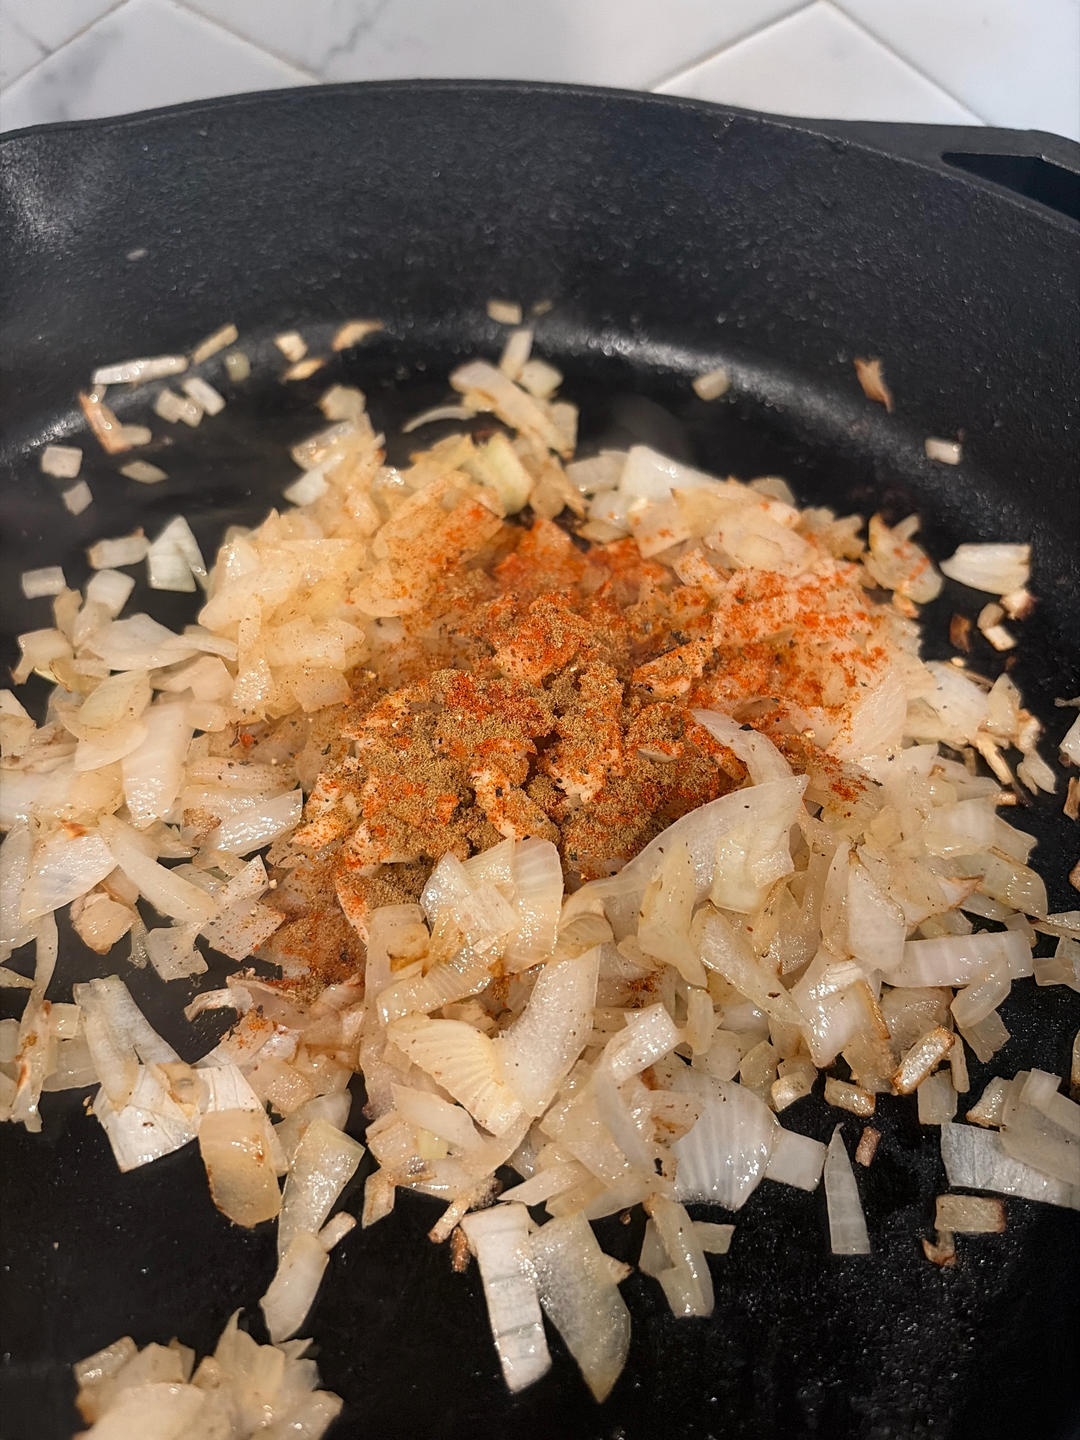 Toast the minced garlic, cumin, and smoked paprika for 30 seconds to wake up the flavors.
4. Add & Crush the Tomatoes
Drop the whole peeled tomatoes directly into the skillet.
Using your wooden spatula or spoon (or tearing them by hand beforehand), crush the tomatoes right in the pan. Leaving some rustic, uneven chunks creates a wonderful texture in the finished dish.
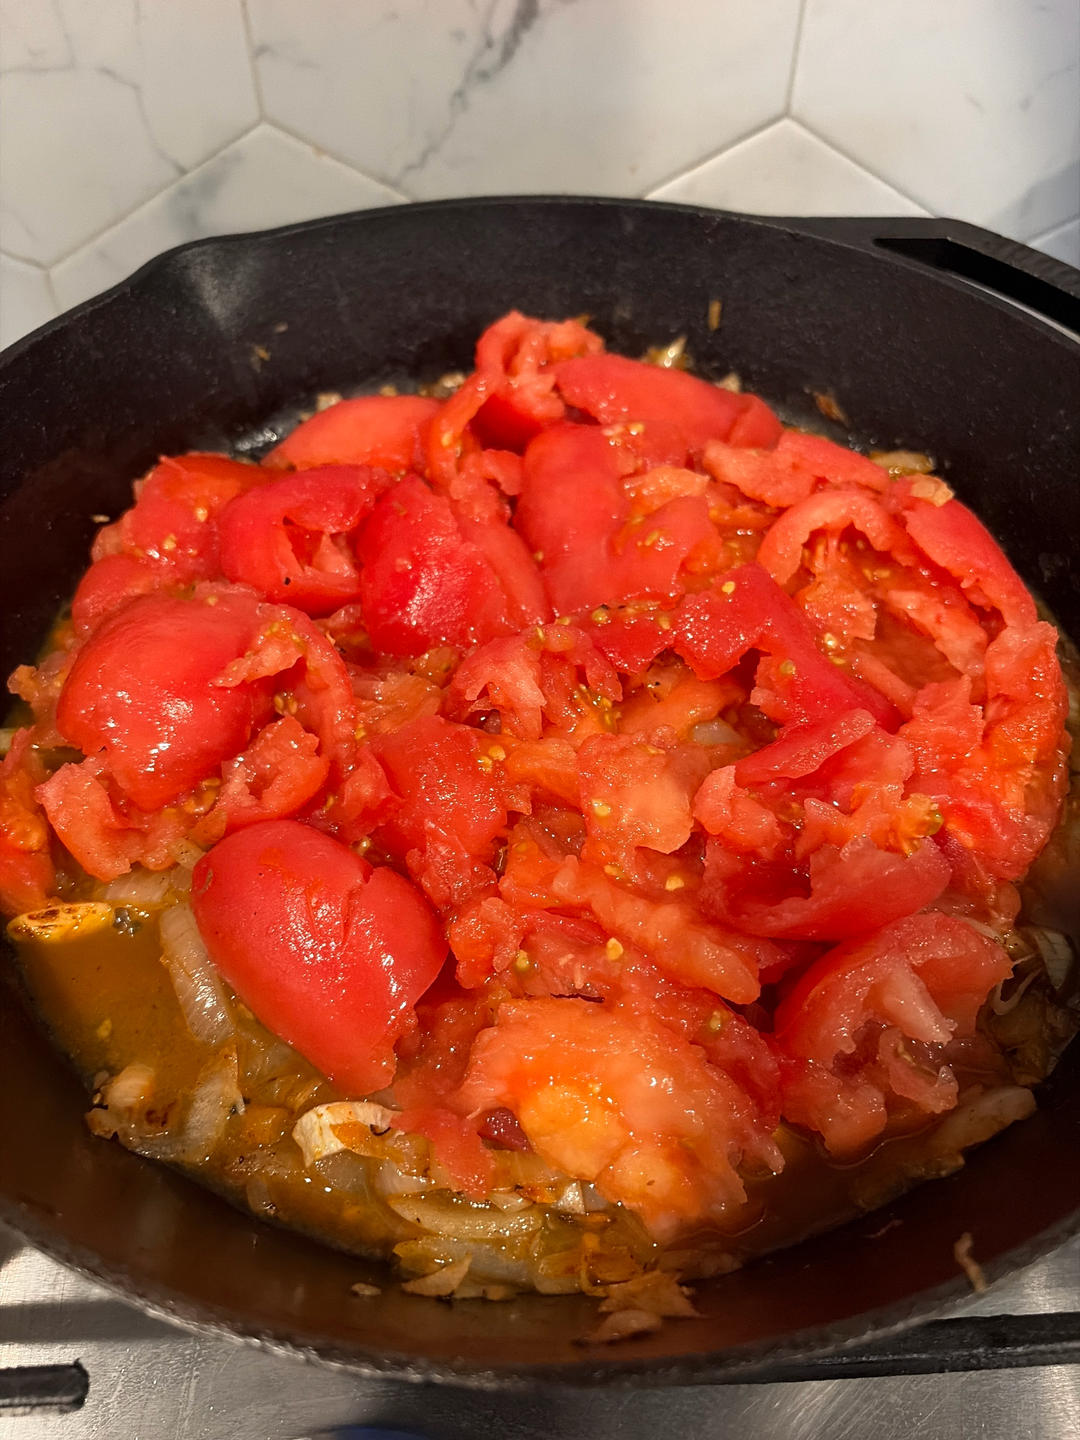 Crush whole peeled tomatoes directly in the skillet, keeping rustic chunky bites.
5. Simmer & Reduce the Sauce (8–12 Minutes)
Keep the skillet uncovered and adjust the heat to medium-low. Let the tomatoes gently simmer for 8 to 12 minutes, stirring occasionally.
You want the excess liquid to cook off until you have a thick, velvety tomato sauce. A good test: drag your spoon across the bottom of the pan—if the sauce parts and holds a clean path without rushing back immediately, it is ready.
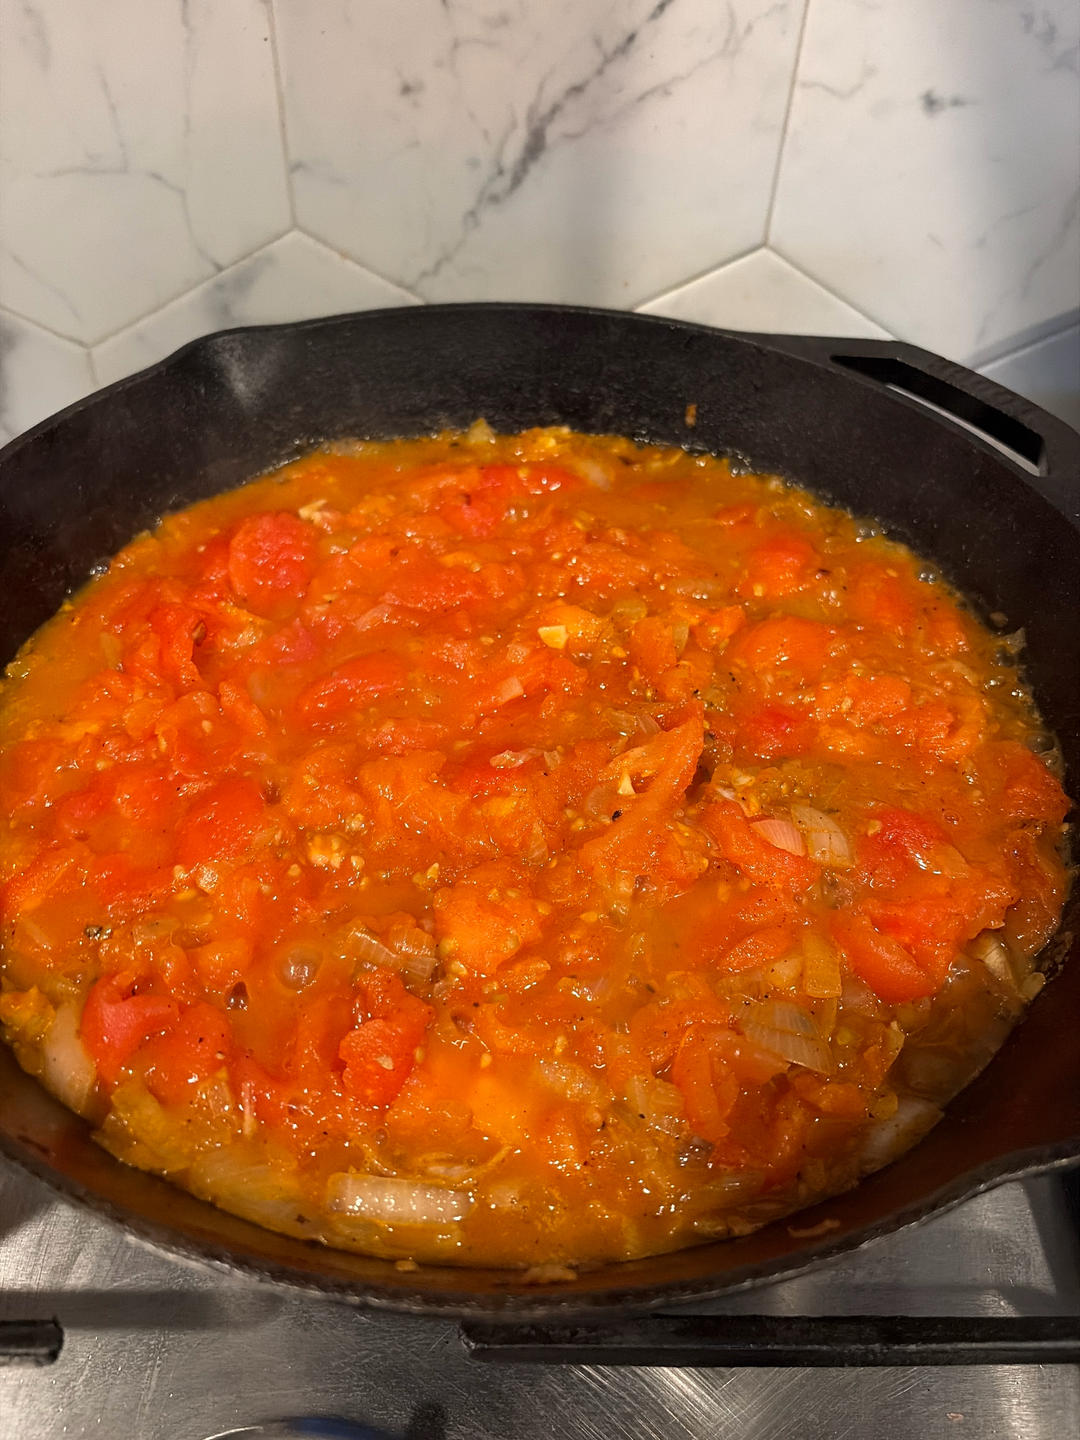 Simmer uncovered until thick, glossy, and spoonable.
6. Taste and Season with Salt
Give the reduced sauce a taste now and season with sea salt as needed.
Because simmering concentrates the tomato flavor naturally, waiting until this stage to add the bulk of your salt ensures you won't accidentally over-salt the sauce!
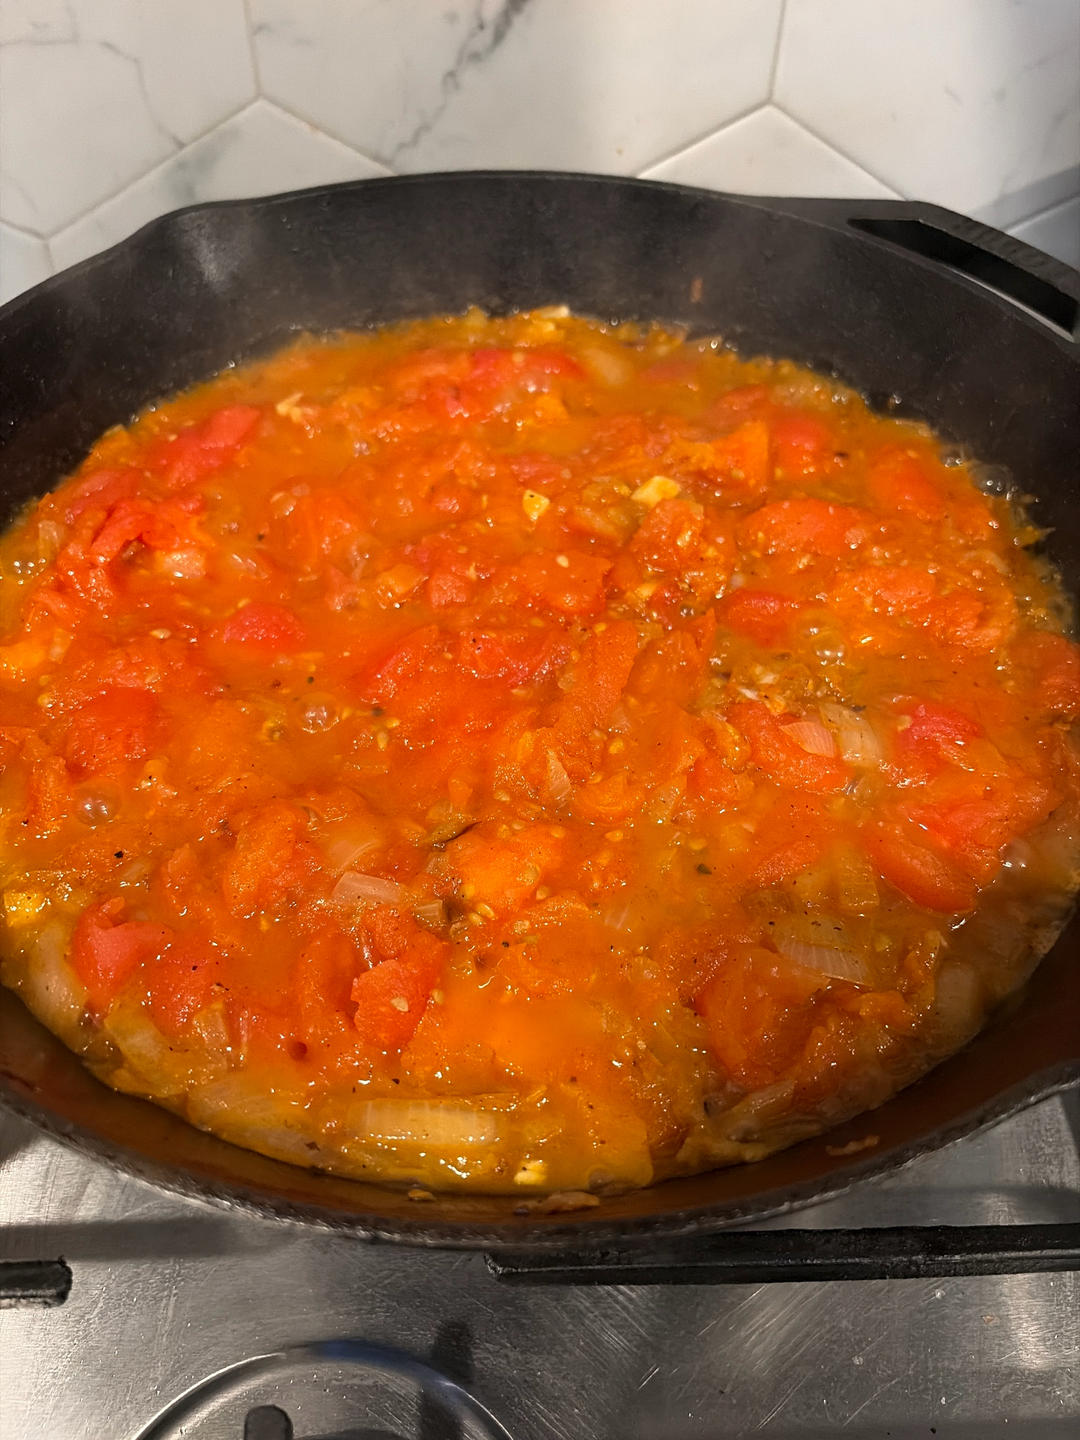 Taste test the concentrated sauce and adjust the salt to your liking.
7. Make Wells and Crack the Eggs
Use the back of a spoon to make small wells in the thick sauce. Crack an egg into each indentation.
Scale the number of eggs to your appetite—I regularly crack in 8 to 10 eggs to feed the whole family.
Cover the skillet with a fitted lid, lower the heat to gentle low, and simmer for 5 to 8 minutes. Watch closely near the end: take the pan off the heat as soon as the egg whites are just opaque and set, while the yolks are still soft and jiggly.
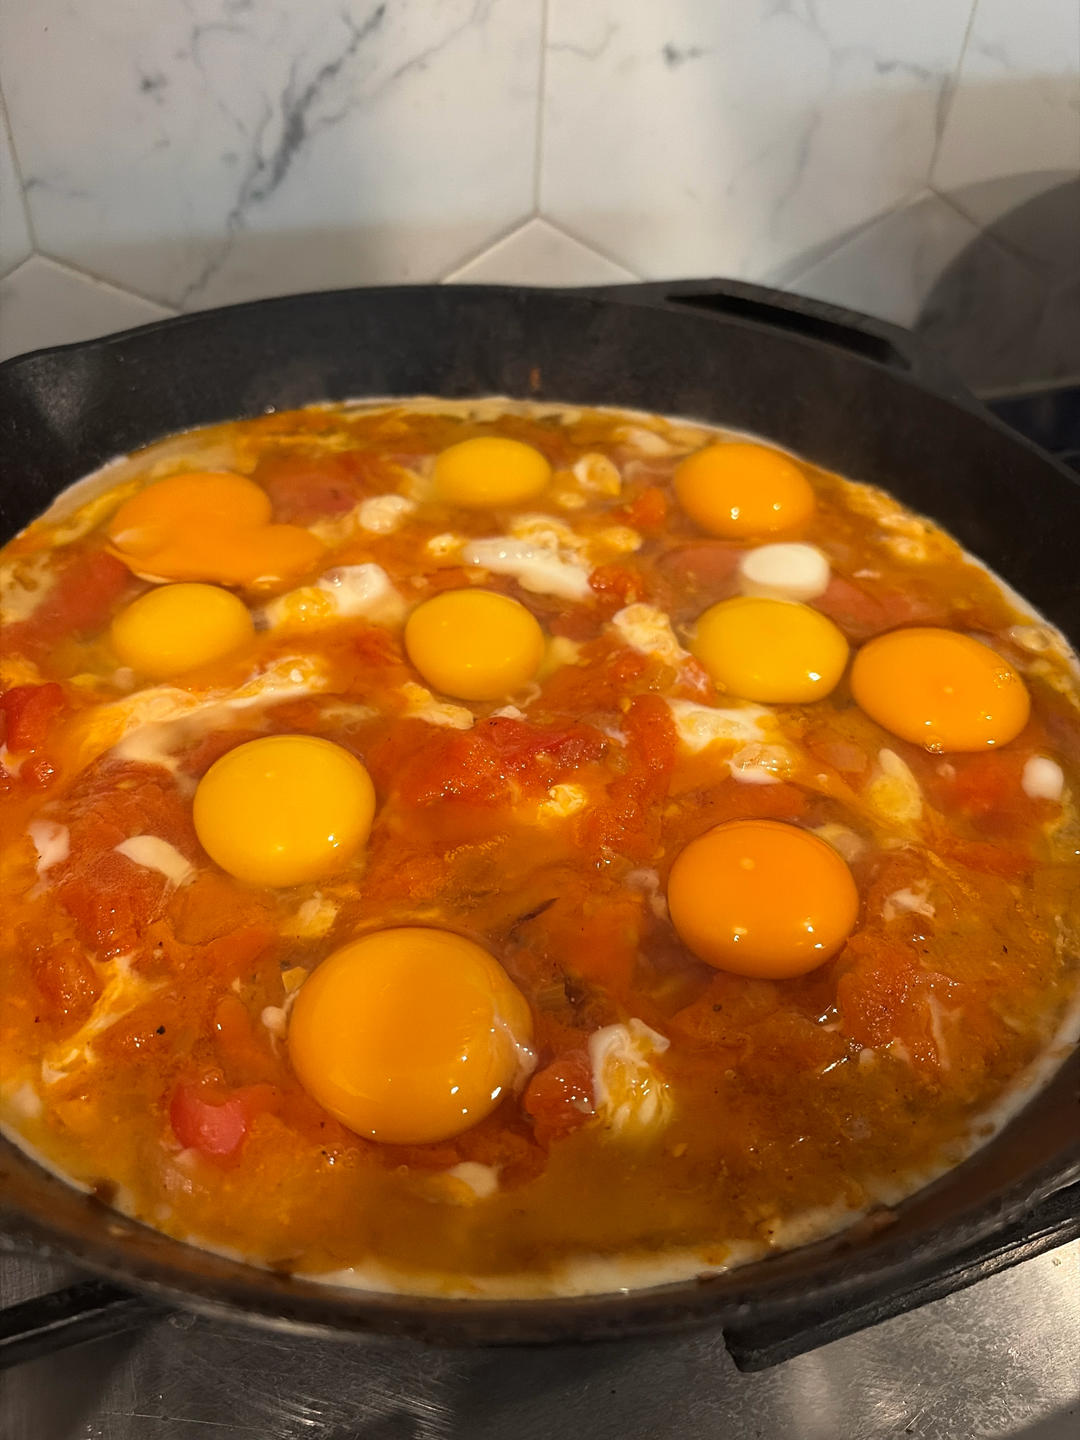 Nestle the eggs into little hollows in the rich tomato sauce.
8. Perfectly Cooked Eggs
Remove the lid. The eggs will finish setting slightly from the residual heat of the cast iron.
 The whites are tender and set, with soft, rich yolks waiting to be broken.
9. Serve Right in the Skillet!
No need to transfer to a serving platter—bring the entire cast-iron skillet straight to the table!
Dip a spoon into that warm, tangy, savory tomato sauce and mix it with the luscious egg yolk. It is comforting, appetizing, and wonderfully satisfying.
 Serve straight from the skillet to the table. Simple, vibrant, and delicious!
Pro-Tips for the Best Shakshuka
- Sauté Onions with Salt First: Adding a pinch of salt to the onions right at the beginning helps them release water faster, allowing them to turn tender and sweet rather than drying out.
- Season After Reducing: Fresh tomatoes have lots of water that cooks away during simmering. Always season with salt after the sauce has thickened so the salinity is balanced.
- Fresh vs. Canned Tomatoes: If you don't have fresh Roma tomatoes on hand, whole canned peeled Italian tomatoes work wonderfully too. Just pour them in and crush them in the pan the exact same way.
- Residual Heat in Cast Iron: Cast iron retains significant heat. If you like runny yolks, take the pan off the heat a minute before they look completely done, as they will continue cooking under their own steam.