Peanut Butter Date Chocolate Truffles (5 Ingredients)
Posted by Mira on October 6, 2026 in recipes🥑 Whole Food• 7 min read
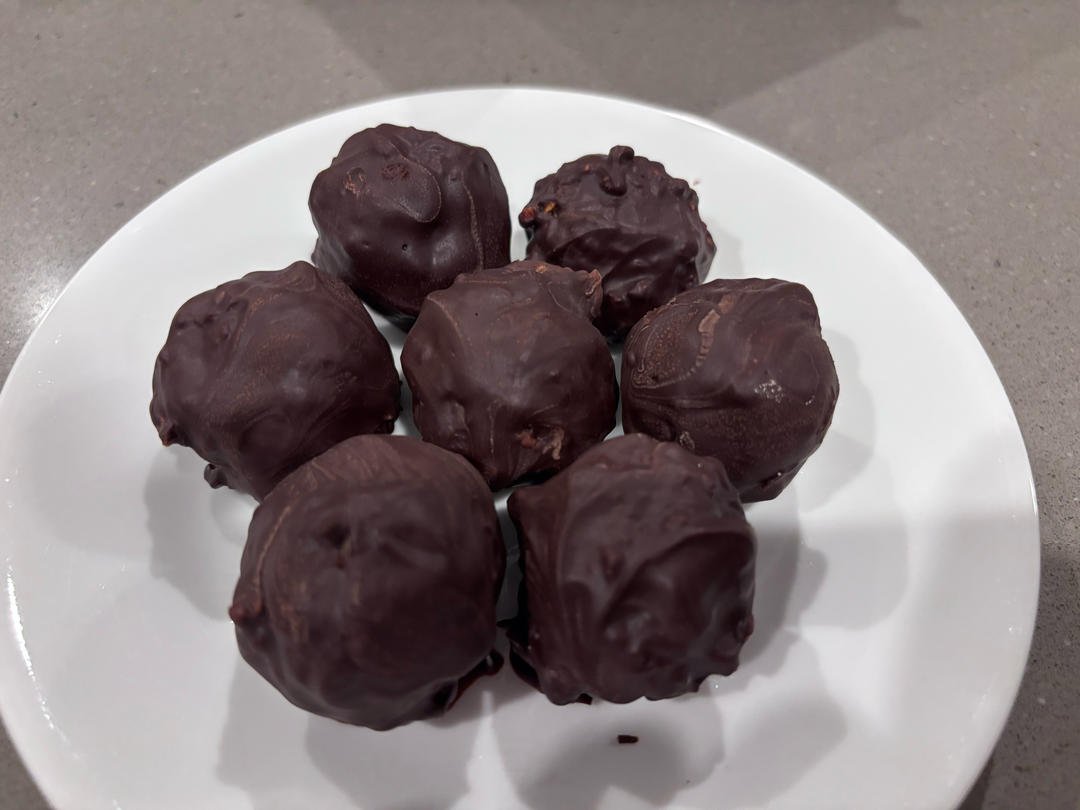
These Peanut Butter Date Chocolate Truffles are proof that you don't need refined sugars, processed syrups, or flour to create a decadent, melt-in-your-mouth chocolate dessert.
Adapted and refined from a recipe by MasterChef Australia contestant Laura Sharrad, these little bites strike the ultimate balance of textures: a crisp, dark chocolate outer shell encasing a soft, chewy, fudgy center with delightful nutty crunch.
With sweetness derived 100% from whole dried dates, they make an incredible afternoon pick-me-up, a pre-workout fuel bite, or a guilt-free evening sweet treat. Each truffle comes in at approximately 100 calories of clean, sustained fuel.
Why You'll Love This Recipe
- Only 5 Clean Ingredients: Whole dried dates, pure peanut butter, clean dark chocolate chips (like Hu), coconut oil, and a touch of raw honey.
- Naturally Sweetened: Zero refined cane sugar, powdered sugar, or artificial sweeteners—pure natural energy from whole dates and unrefined coconut sugar.
- Flourless & Gluten-Free: Naturally grain-free with no binding gums or filler flours.
- Rich Contrast of Textures: Silky smooth outer chocolate shell with a rich, chewy center and toasted nut crunch.
- Quick & No-Bake: Minimal kitchen prep, no baking required, and easy cleanup.
Ingredients & Equipment
Ingredients
- 250g dried dates (dried red dates/jujubes or Medjool dates, pitted and roughly chopped)
- 60g peanut butter (about ¼ cup; preferably 100% pure roasted peanuts without added oils or sugar)
- 1–2 tsp finely chopped toasted nuts or seeds (walnuts, pecans, almonds, peanuts, pistachios, or toasted sesame seeds)
- 75g clean-ingredient dark chocolate chips (I love using Hu Organic Dark Chocolate Baking Chips, which have only 3 clean ingredients: organic cacao [65% for dark, 45% for semi-sweet], organic unrefined coconut sugar, and organic fair trade cocoa butter; 100% or 85%+ dark baking chocolate also works great)
- 1 tsp coconut oil (helps thin the melted chocolate for a smooth, glossy coating)
- 1–2 tsp raw honey (optional; adds shine and balances bitterness if using 100% unsweetened chocolate; omit or reduce if using coconut-sugar-sweetened chips like Hu)
- 2 tbsp water (to help the chopped dates bind evenly in the food processor)
- Optional topping: Extra chopped toasted nuts, cacao nibs, or a pinch of flaky sea salt
Equipment
- Food processor
- Baking sheet or flat plate lined with parchment paper
- Heatproof bowl (for melting chocolate over a water bath)
- Fork or chocolate dipping fork
Step-by-Step Instructions
1. Pit the Dates
Carefully slice open the dried dates and remove all the pits.
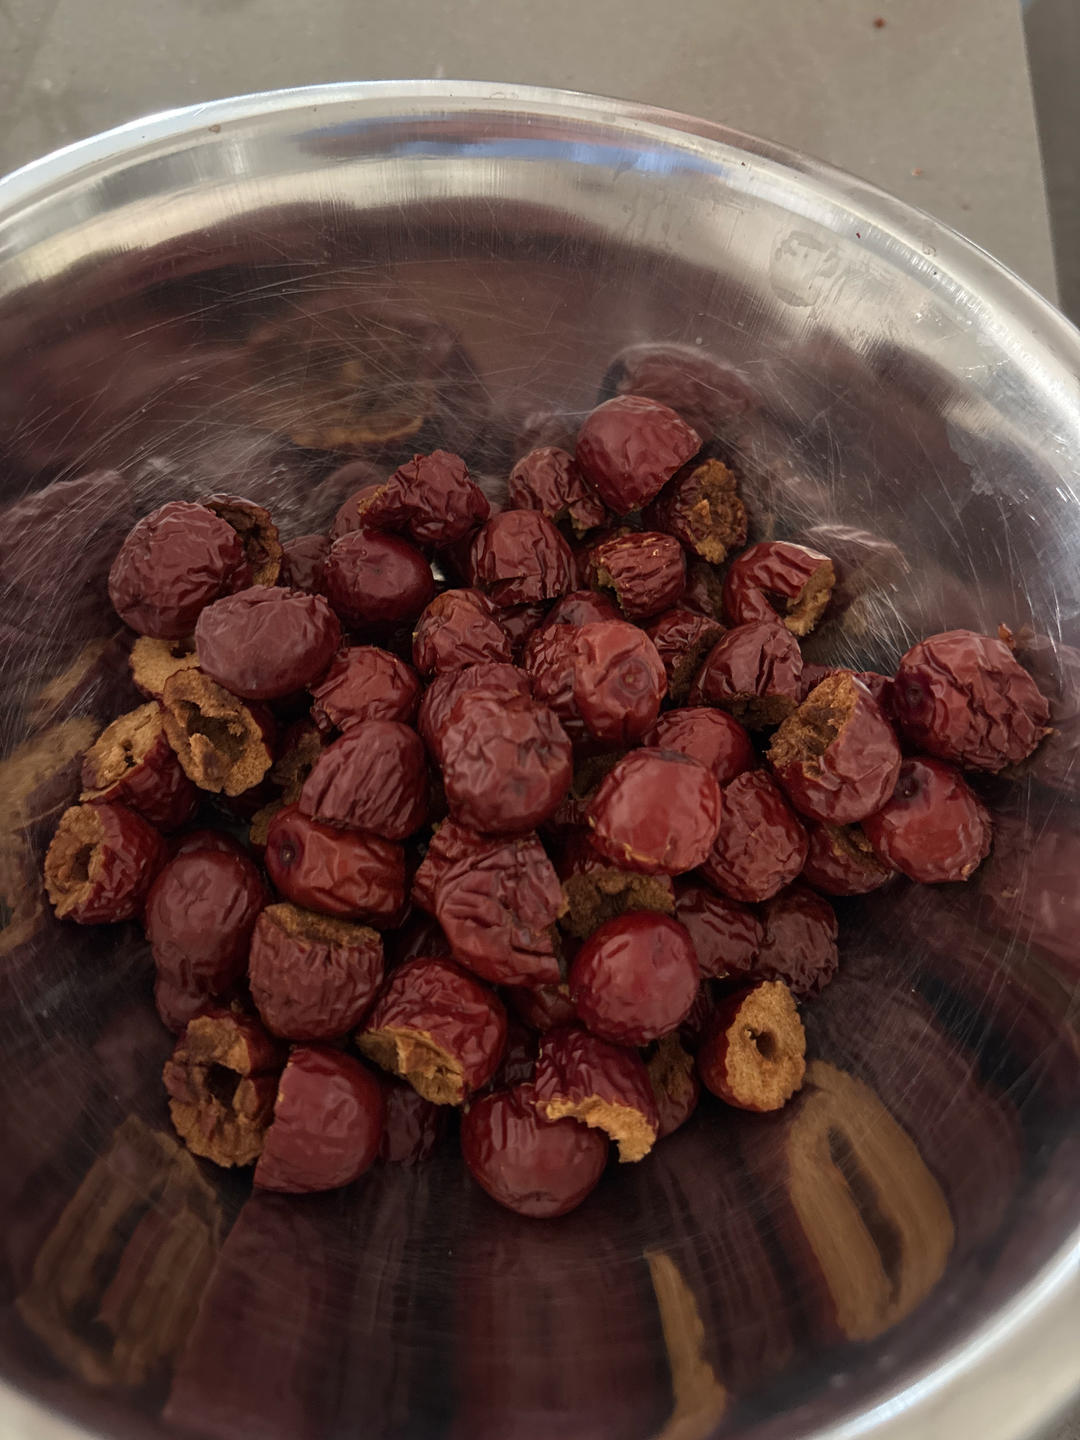 Remove pits from the dried dates before measuring.
2. Chop into Small Pieces
Roughly chop the pitted dates with a sharp knife into small, bite-sized pieces. Chopping them first ensures they blend evenly and don't stall your food processor blades.
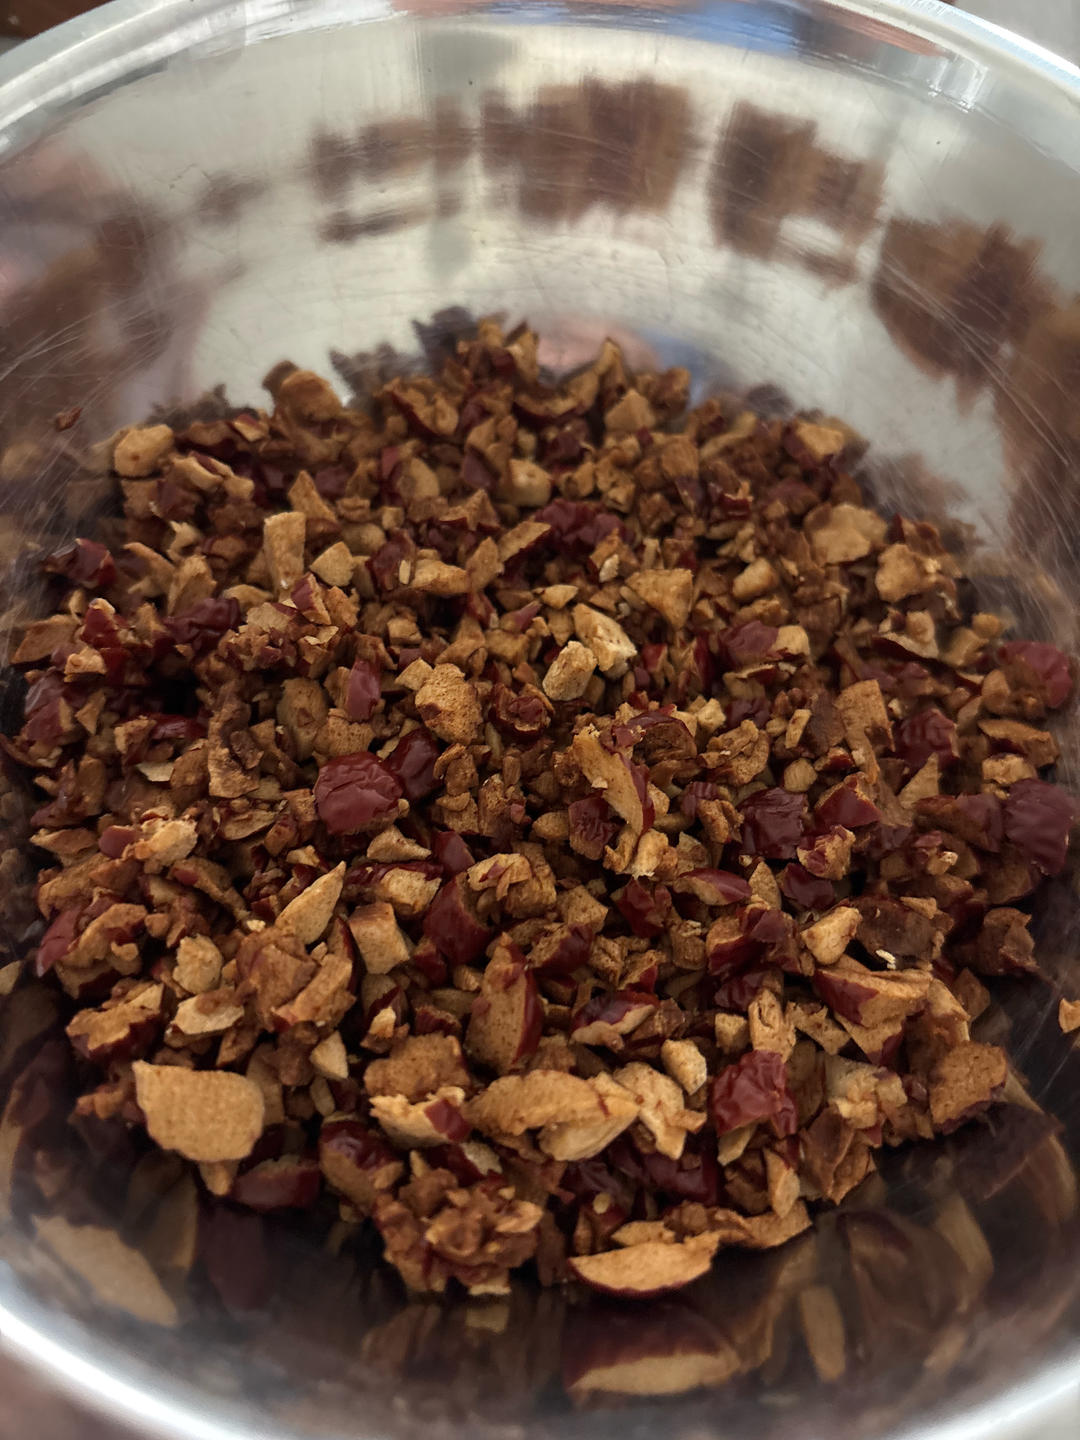 Chop the pitted dates into small chunks for easy processing.
3. Add Peanut Butter and Nuts
Transfer the chopped dates into a mixing bowl. Add the peanut butter along with the optional toasted chopped nuts or seeds.
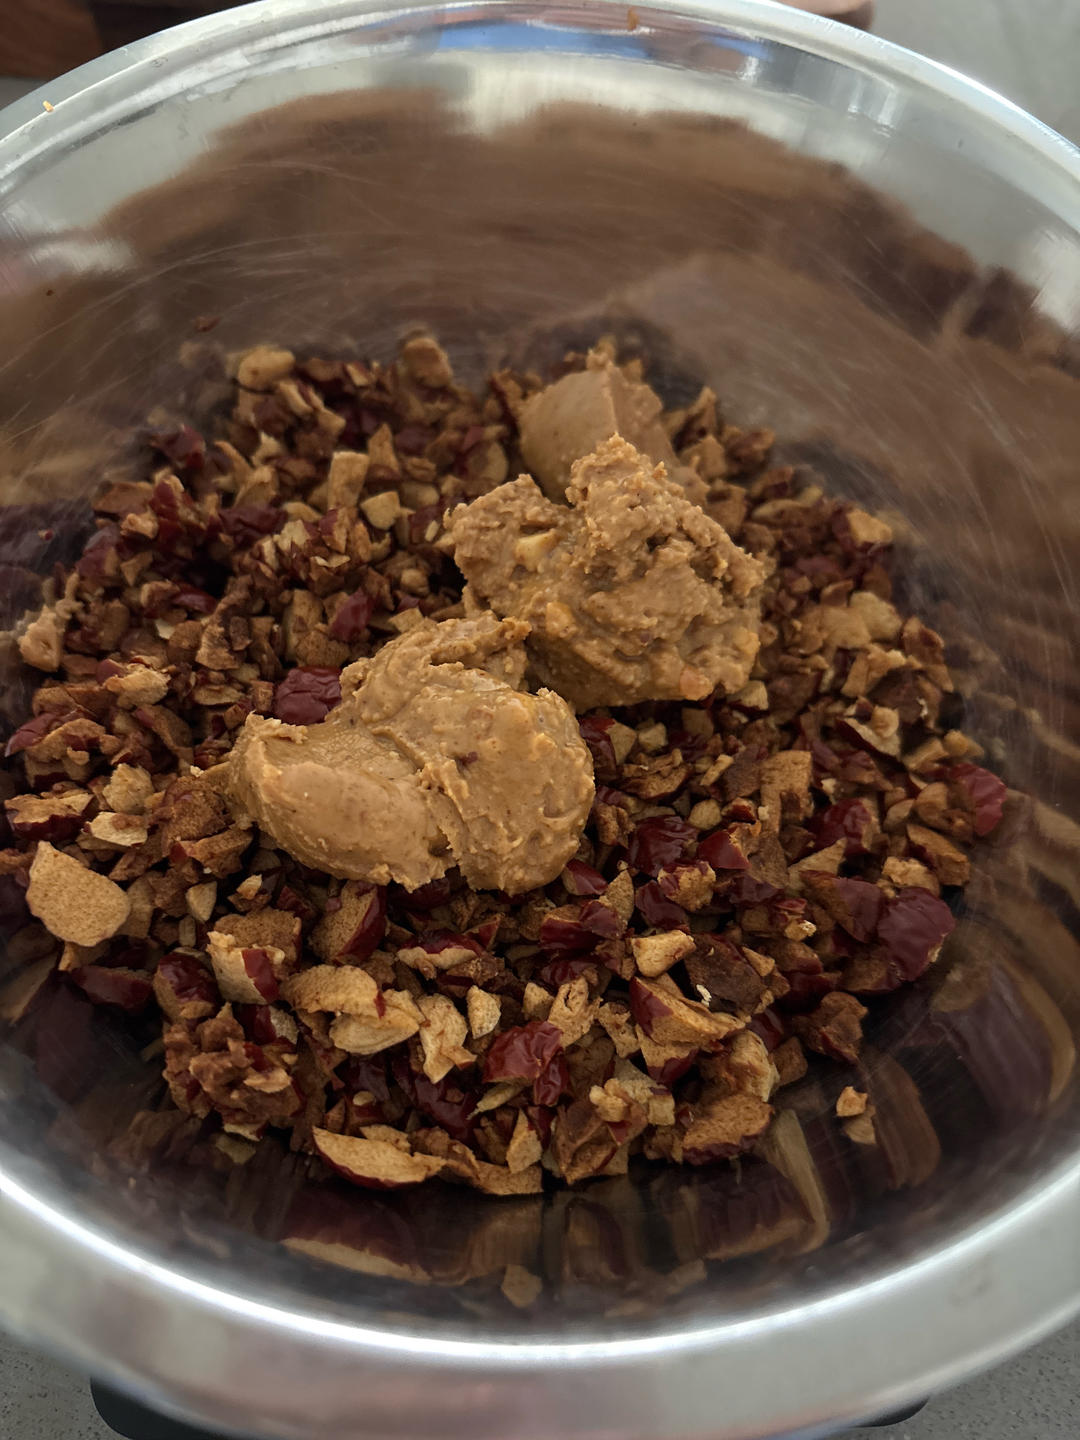 Combine chopped dates with creamy peanut butter and crunchy toasted nuts.
4. Mix Evenly
Give everything a thorough stir with a spatula so the dates are evenly coated with the peanut butter.
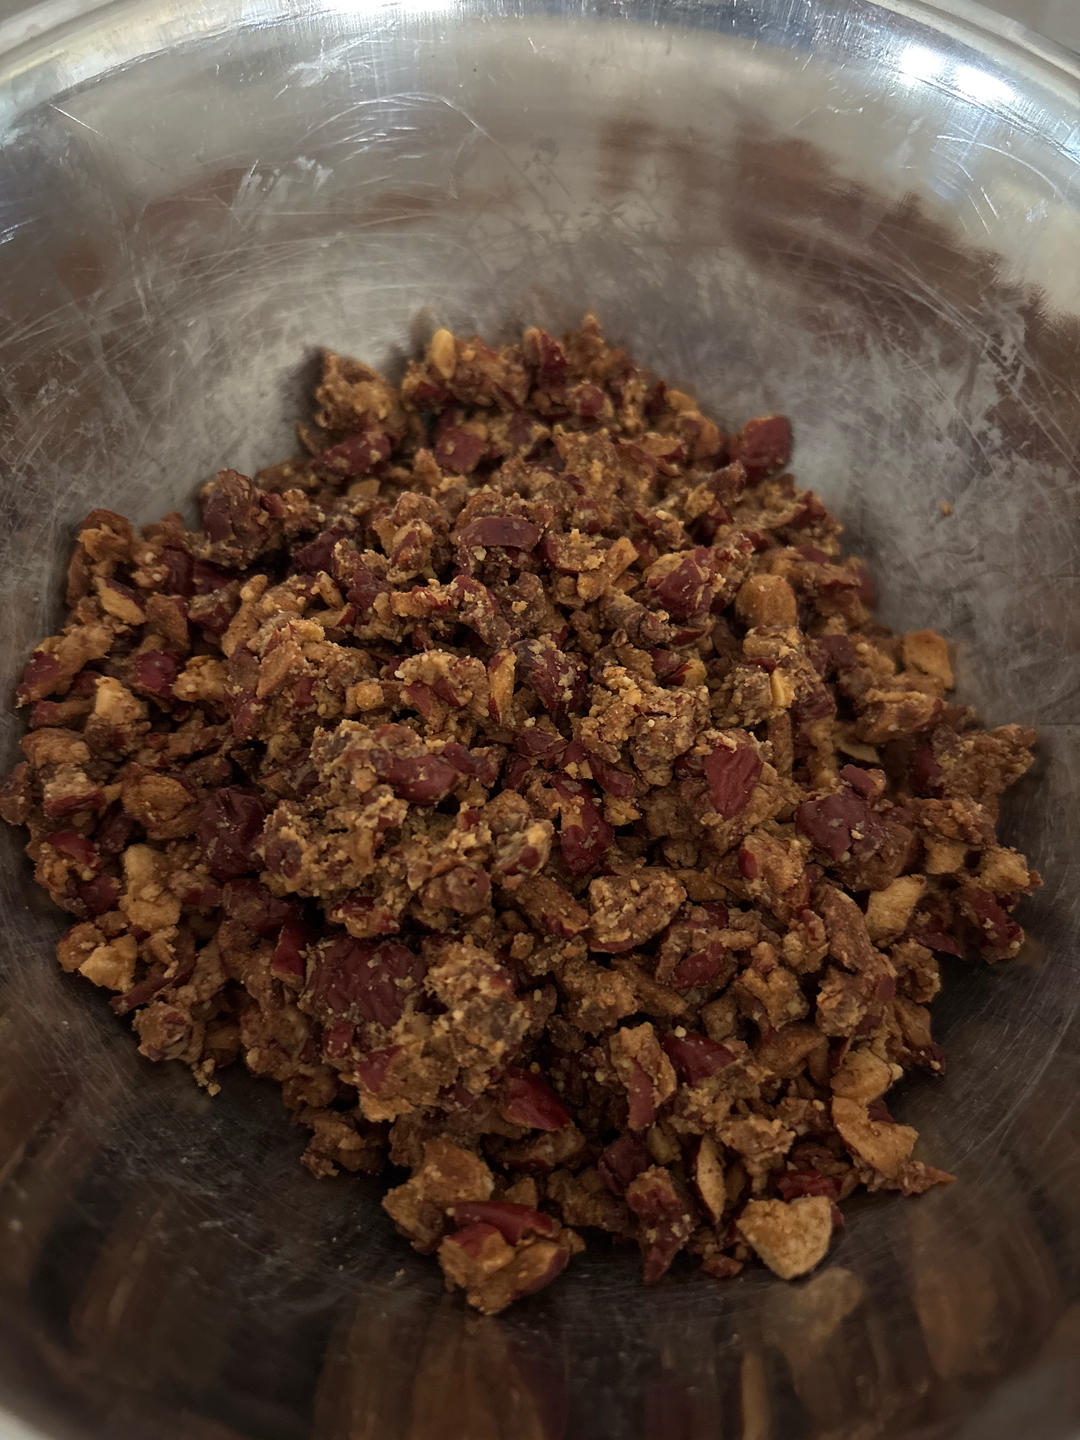 Mix until peanut butter coats the date pieces.
5. Pulse in the Food Processor
Transfer the mixture into your food processor and add 2 tablespoons of water. Pulse in short bursts until the dates break down into small, cohesive bits and begin sticking together.
Tip: You don't need to pulverize it into a completely smooth puree—keeping small chewy bits gives the truffle filling its irresistible texture!
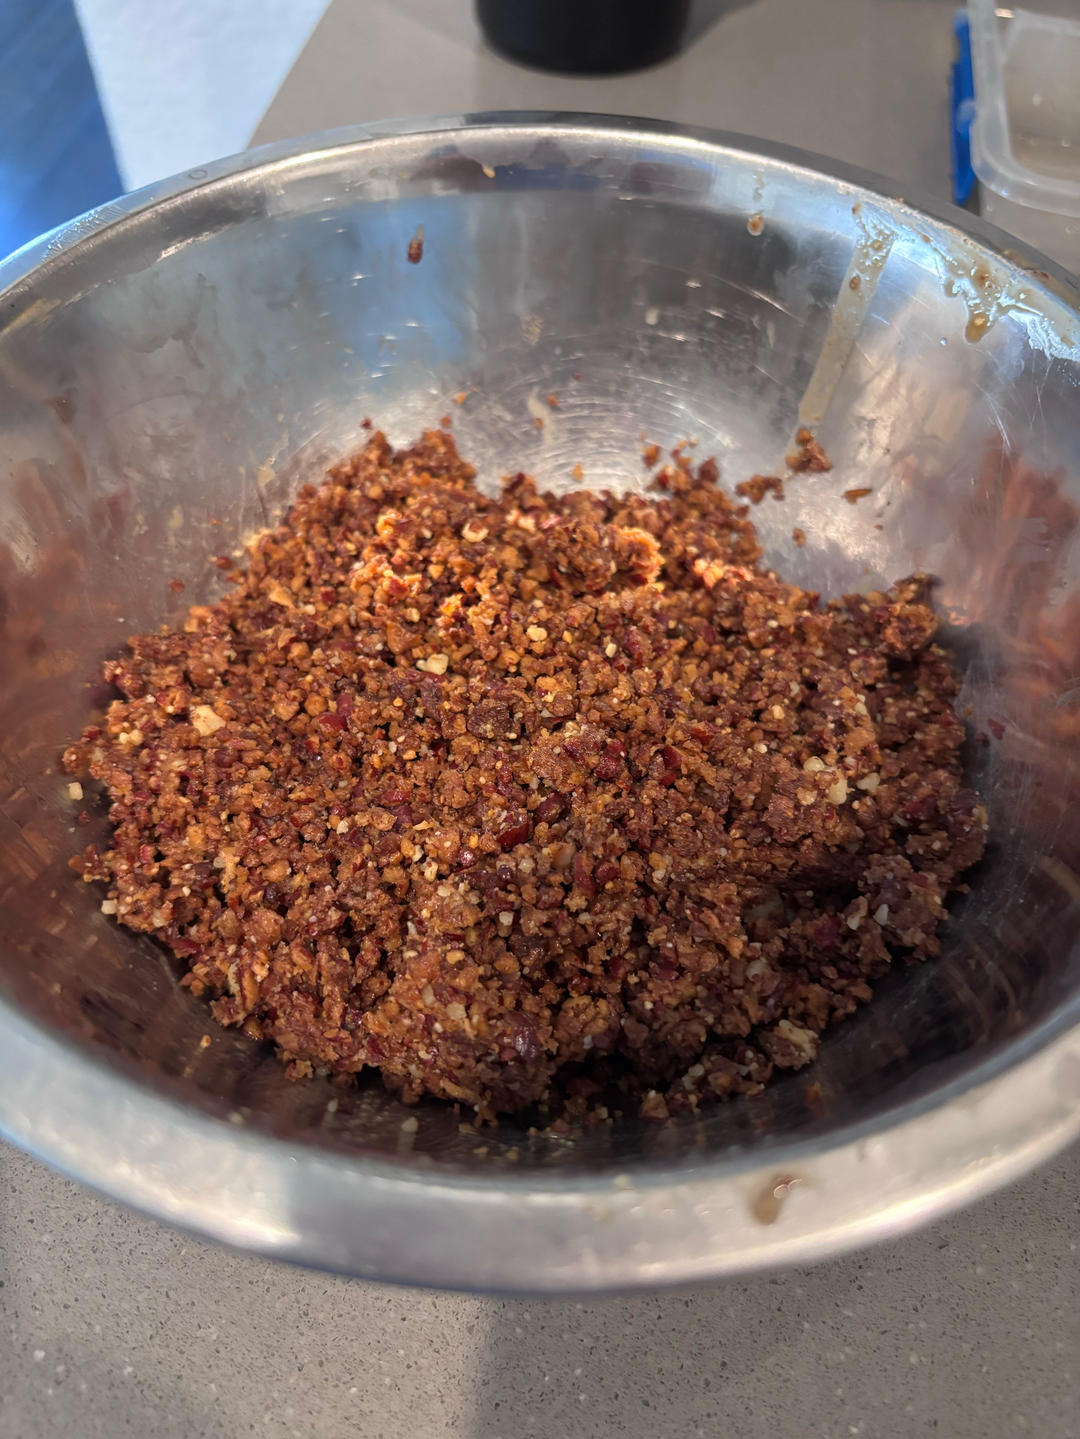 Pulse with 2 tablespoons of water until sticky and cohesive.
6. Shape into Truffle Balls
If the mixture feels a bit too sticky or warm, pop it in the refrigerator for 15–20 minutes to firm up.
Scoop about 1 tablespoon of mixture per truffle and roll between your palms into neat, round balls. Arrange them in a single layer on a parchment-lined baking sheet or plate.
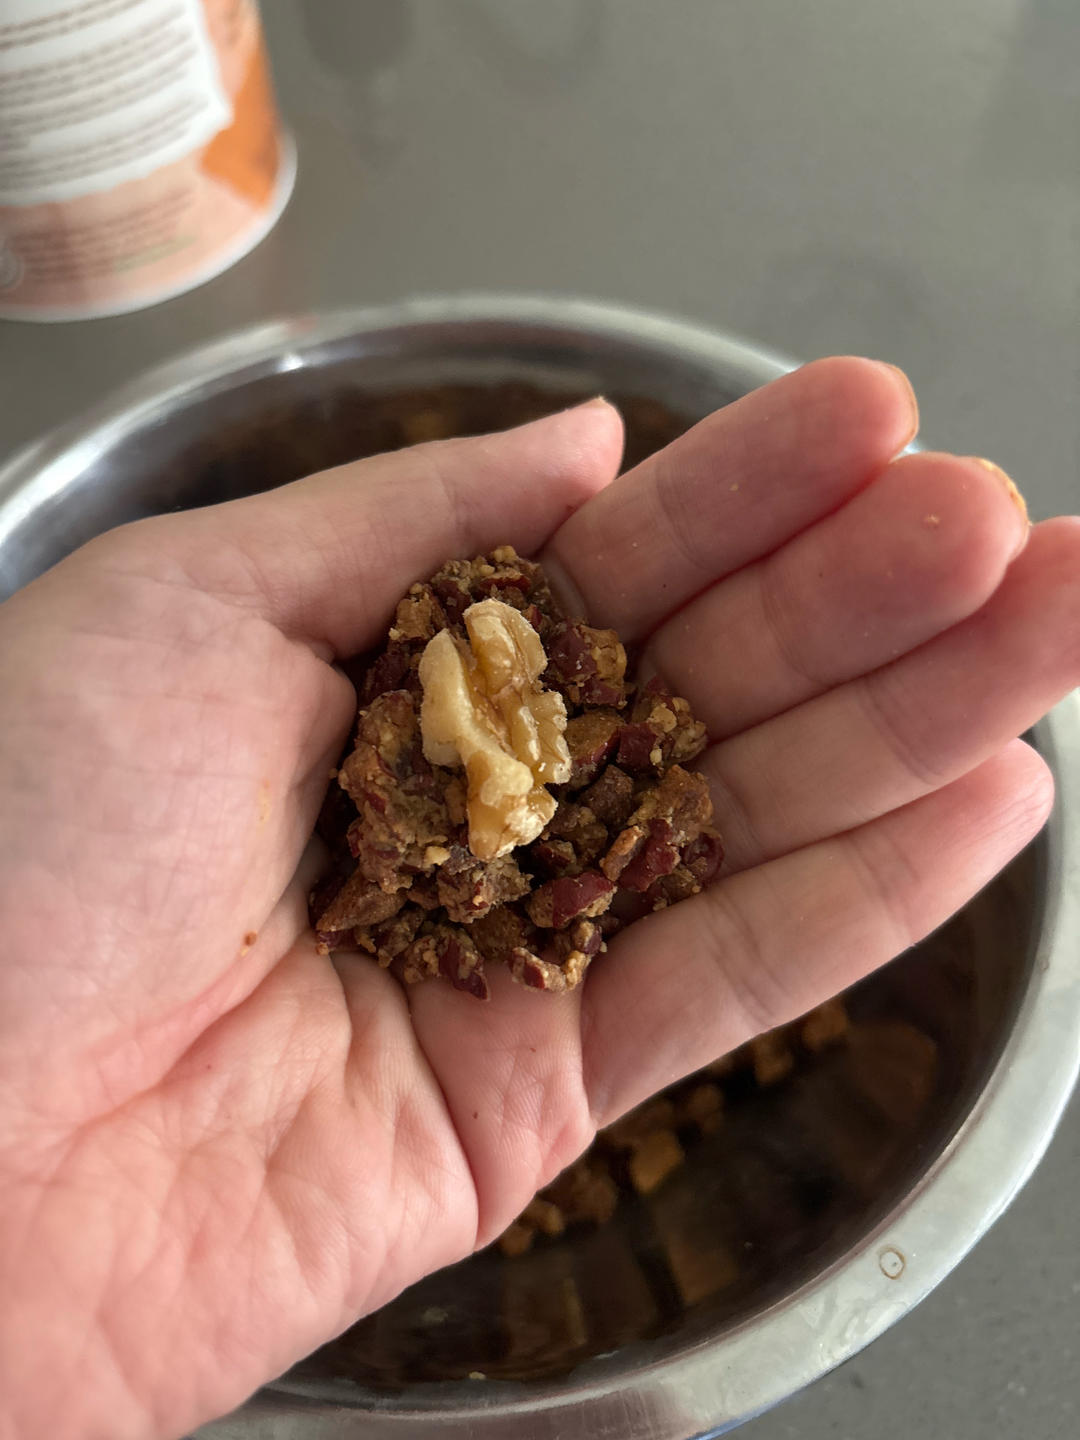 Roll into tablespoon-sized balls and arrange on parchment paper.
7. Melt the Chocolate & Coconut Oil
Place the chocolate chips (such as Hu Dark Chocolate Baking Chips) and 1 teaspoon of coconut oil in a heatproof glass or metal bowl set over a small pot of barely simmering water (a gentle double boiler). Stir frequently until the chocolate is completely melted, silky, and smooth.
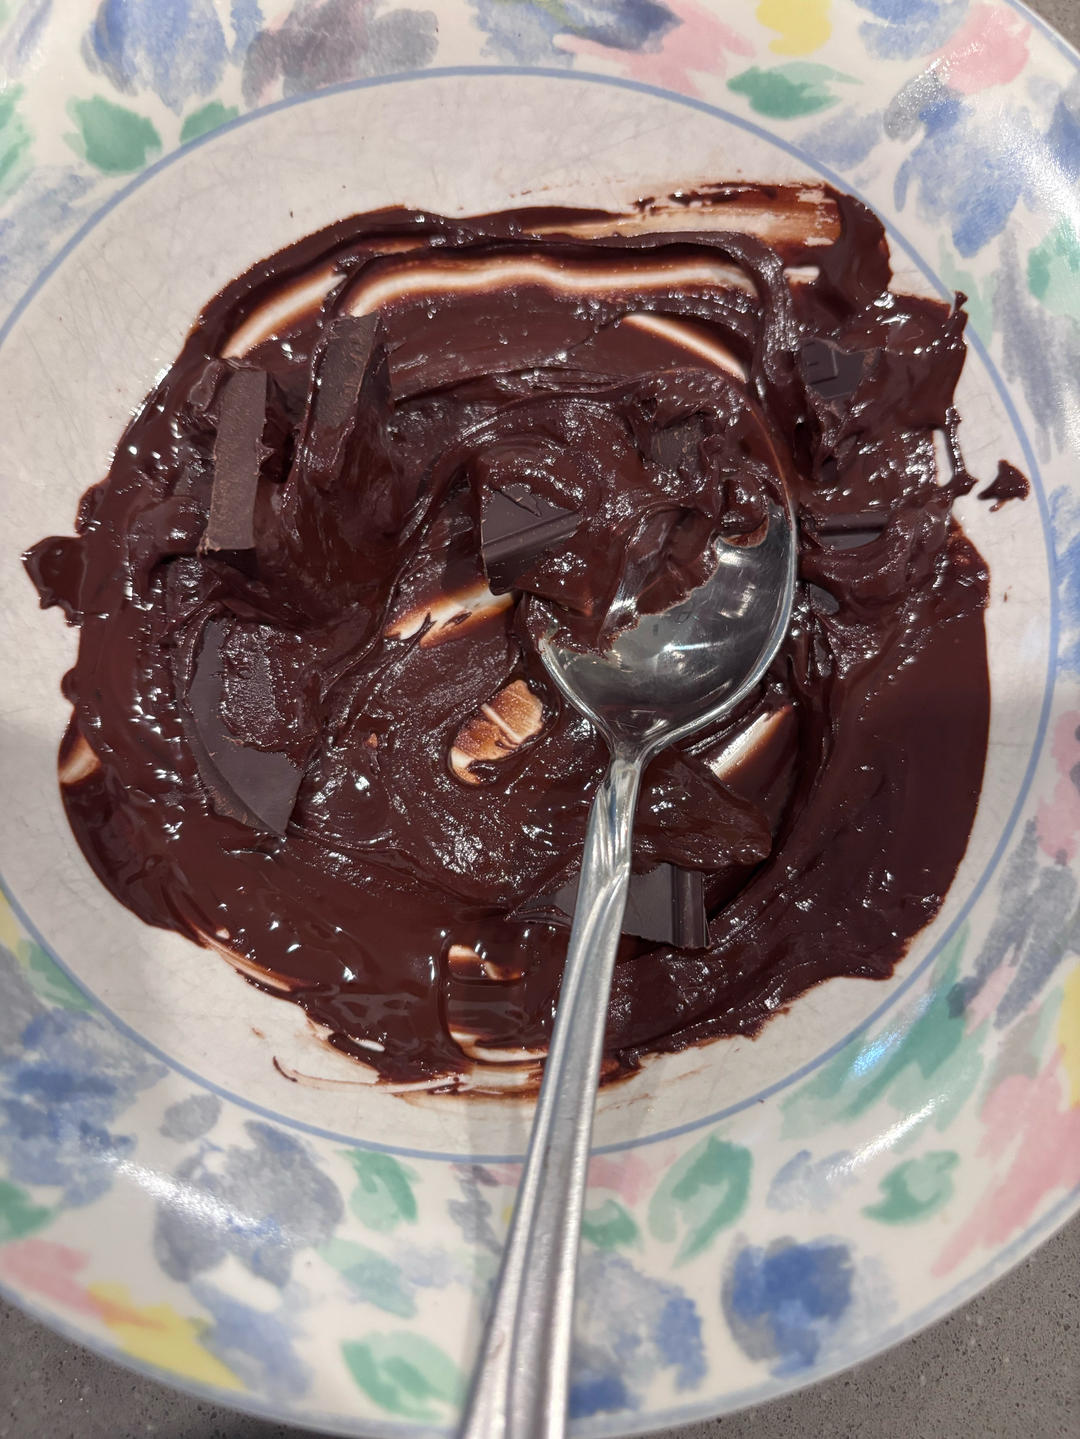 Gently melt clean dark chocolate chips with coconut oil over indirect steam.
8. Stir in Honey for Gloss (Optional)
Remove the melted chocolate from the heat source. If you're using 100% pure unsweetened chocolate, stir in 1–2 teaspoons of raw honey to round out the deep cocoa notes and give the glaze a gorgeous, glossy shine. (Note: If you're using clean chocolate chips like Hu that already contain unrefined coconut sugar, you can reduce or completely skip the honey!)
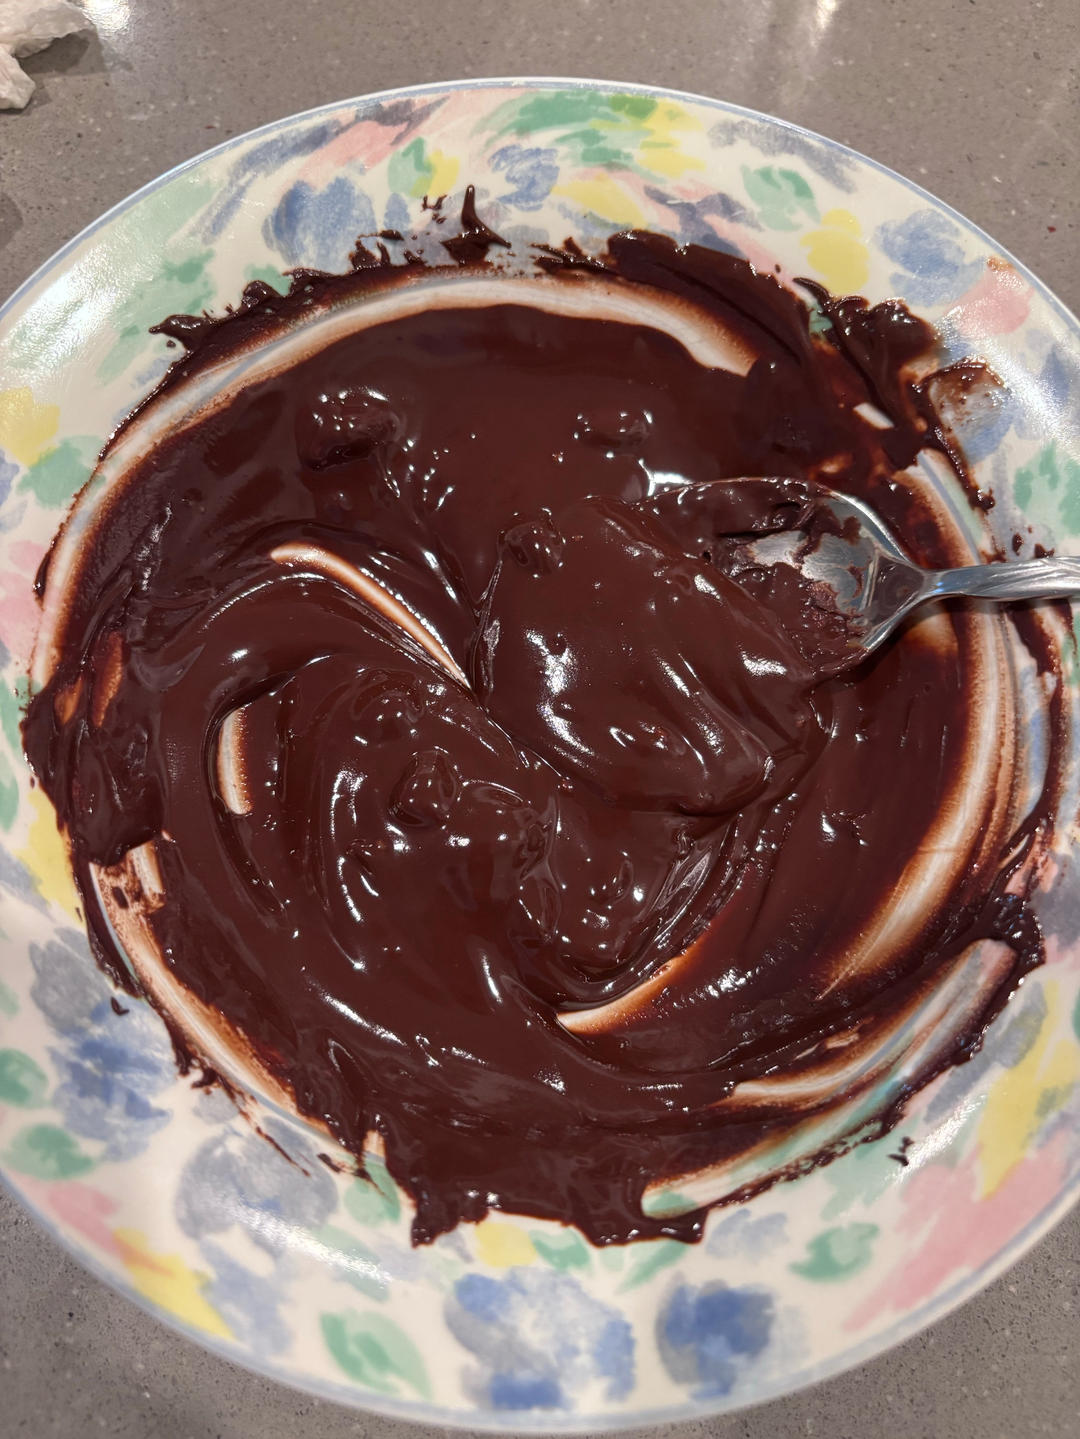 Stir in honey if desired to achieve a glossy, lustrous finish.
9. Dip and Coat Each Truffle
Drop each date ball into the melted chocolate, rolling it around with a fork to coat completely. Lift the ball out, tap the fork gently against the rim of the bowl to let excess chocolate drip off, and set it back down onto the parchment paper.
If using toppings, immediately sprinkle a pinch of crushed nuts or flaky sea salt on top before the chocolate hardens.
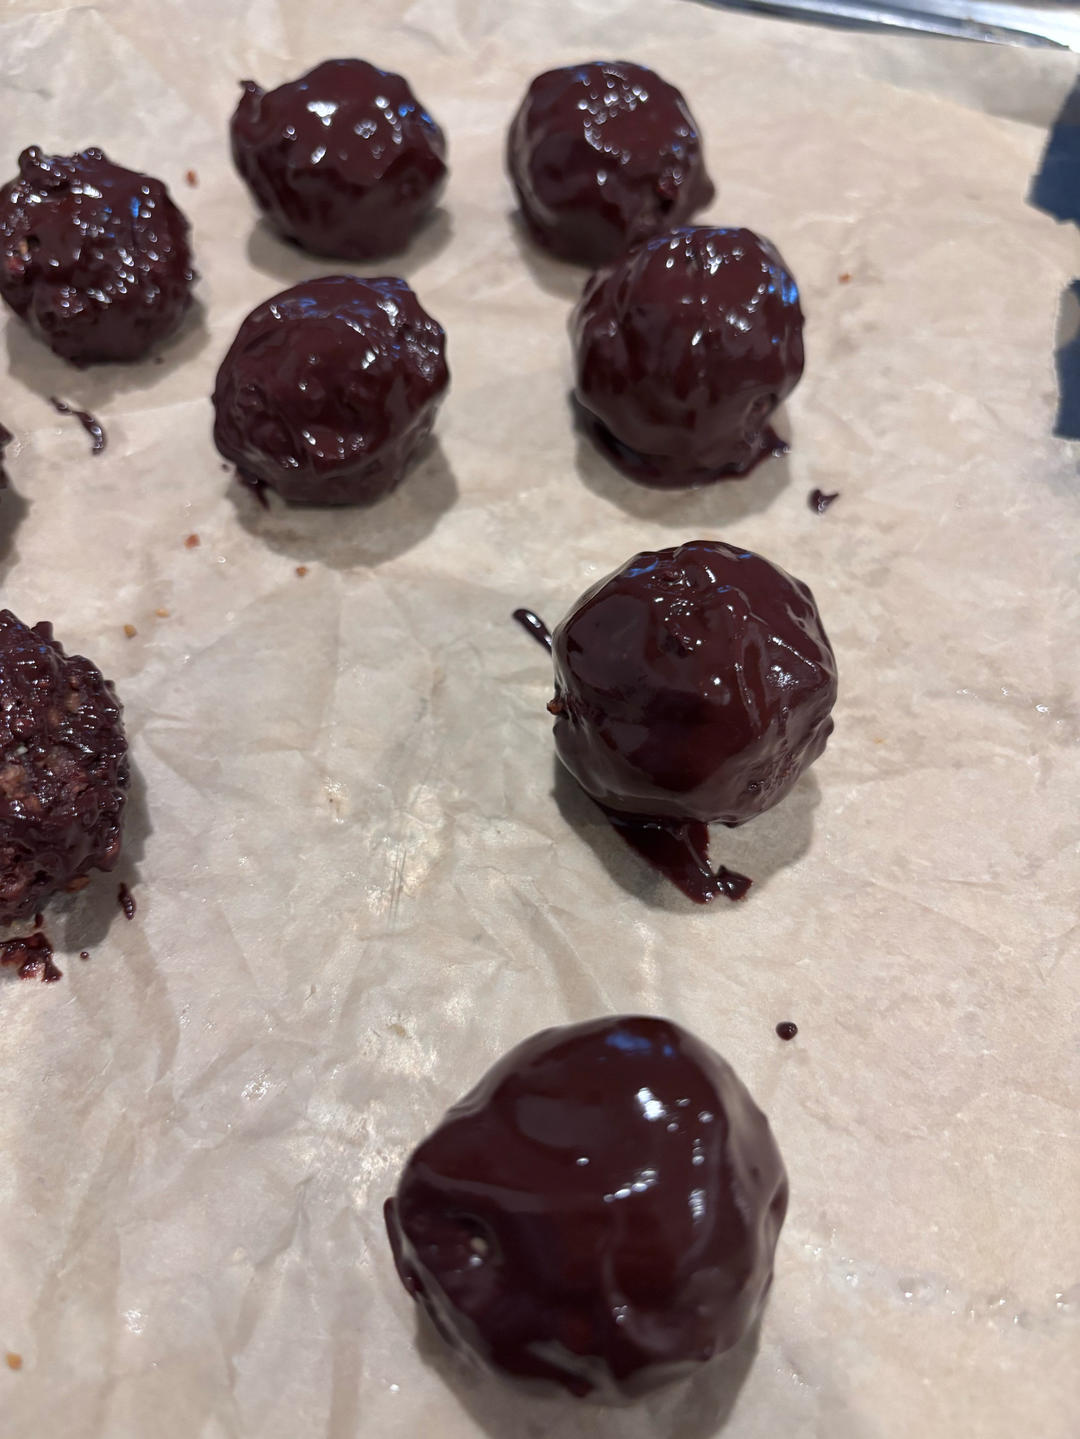 Coat each ball in melted chocolate and garnish with crushed nuts.
10. Chill to Set
Place the tray in the refrigerator for 20–30 minutes until the chocolate shell has completely set and hardened.
Baker's Note: If you are experienced with chocolate tempering, you can temper your chocolate before dipping. Tempered chocolate produces a crisp snap, glossy sheen, and stays stable at room temperature without requiring refrigeration!
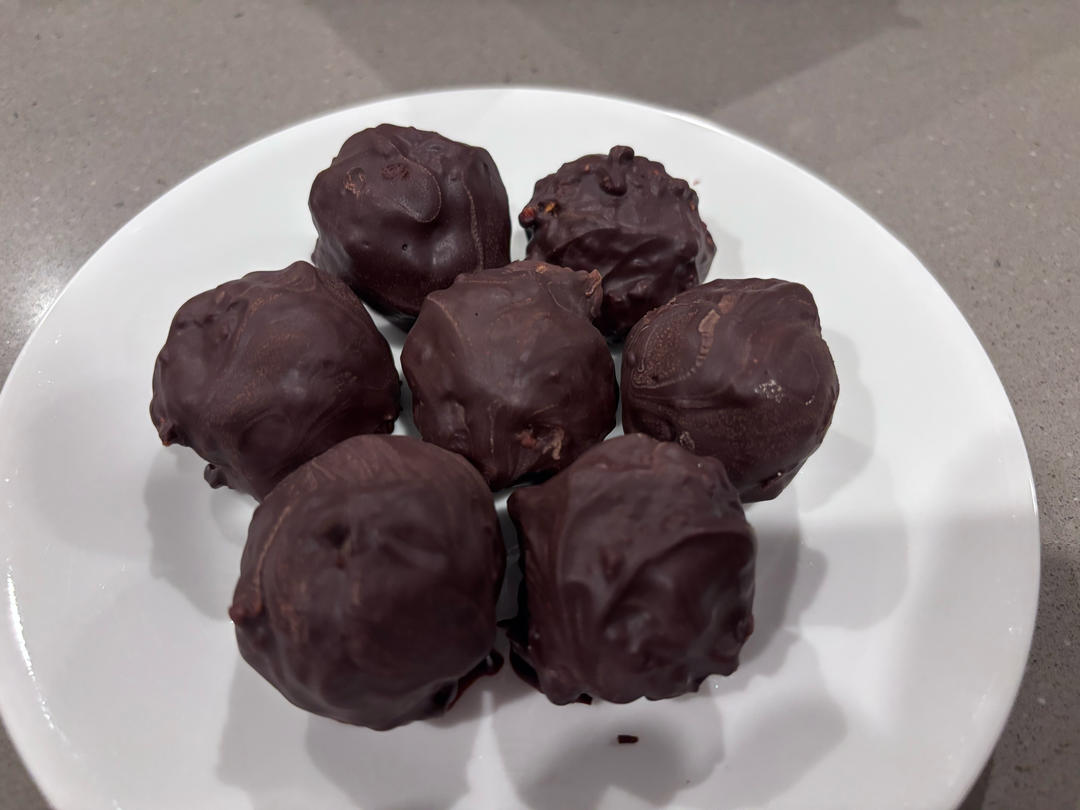 Refrigerate for 20–30 minutes until the shell is firm and crisp.
11. Enjoy the Texture!
Take a bite! The crisp, snap of the outer dark chocolate yields into a delightfully chewy, caramel-like date center with the warm richness of roasted peanut butter.
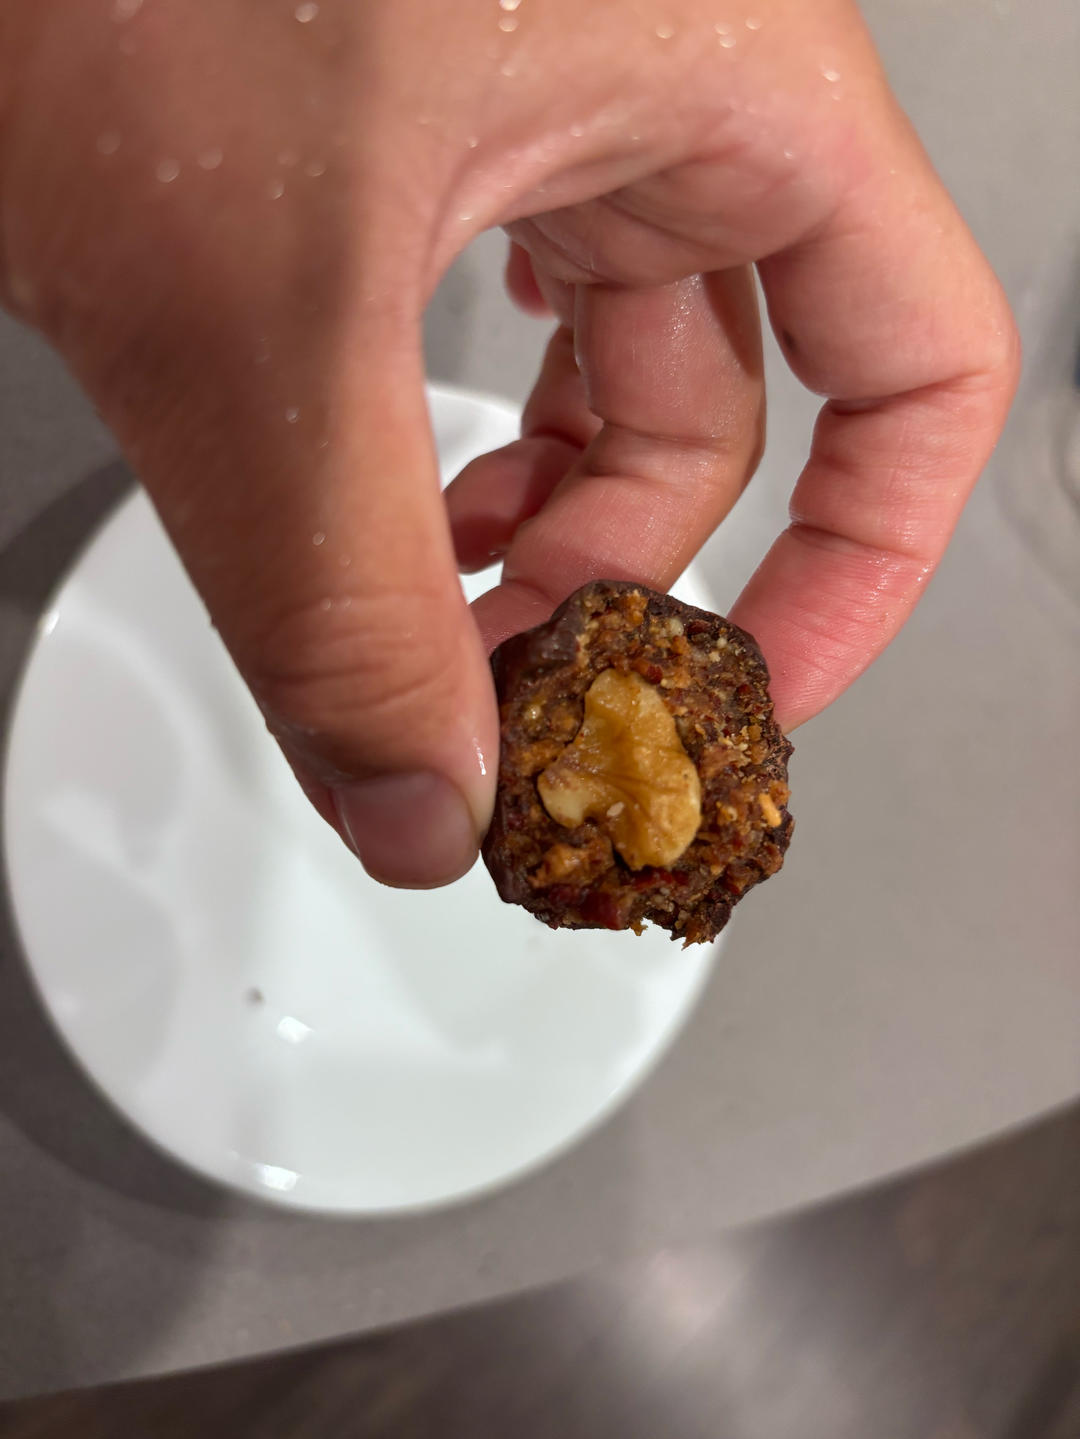 Soft, fudgy, and nutty on the inside with a crisp outer shell.
12. Extra Crunchy Option
For an even bigger crunch and artisanal bakery look, roll the freshly chocolate-dipped truffles in a bowl of finely chopped toasted walnuts, pecans, or pistachios before chilling.
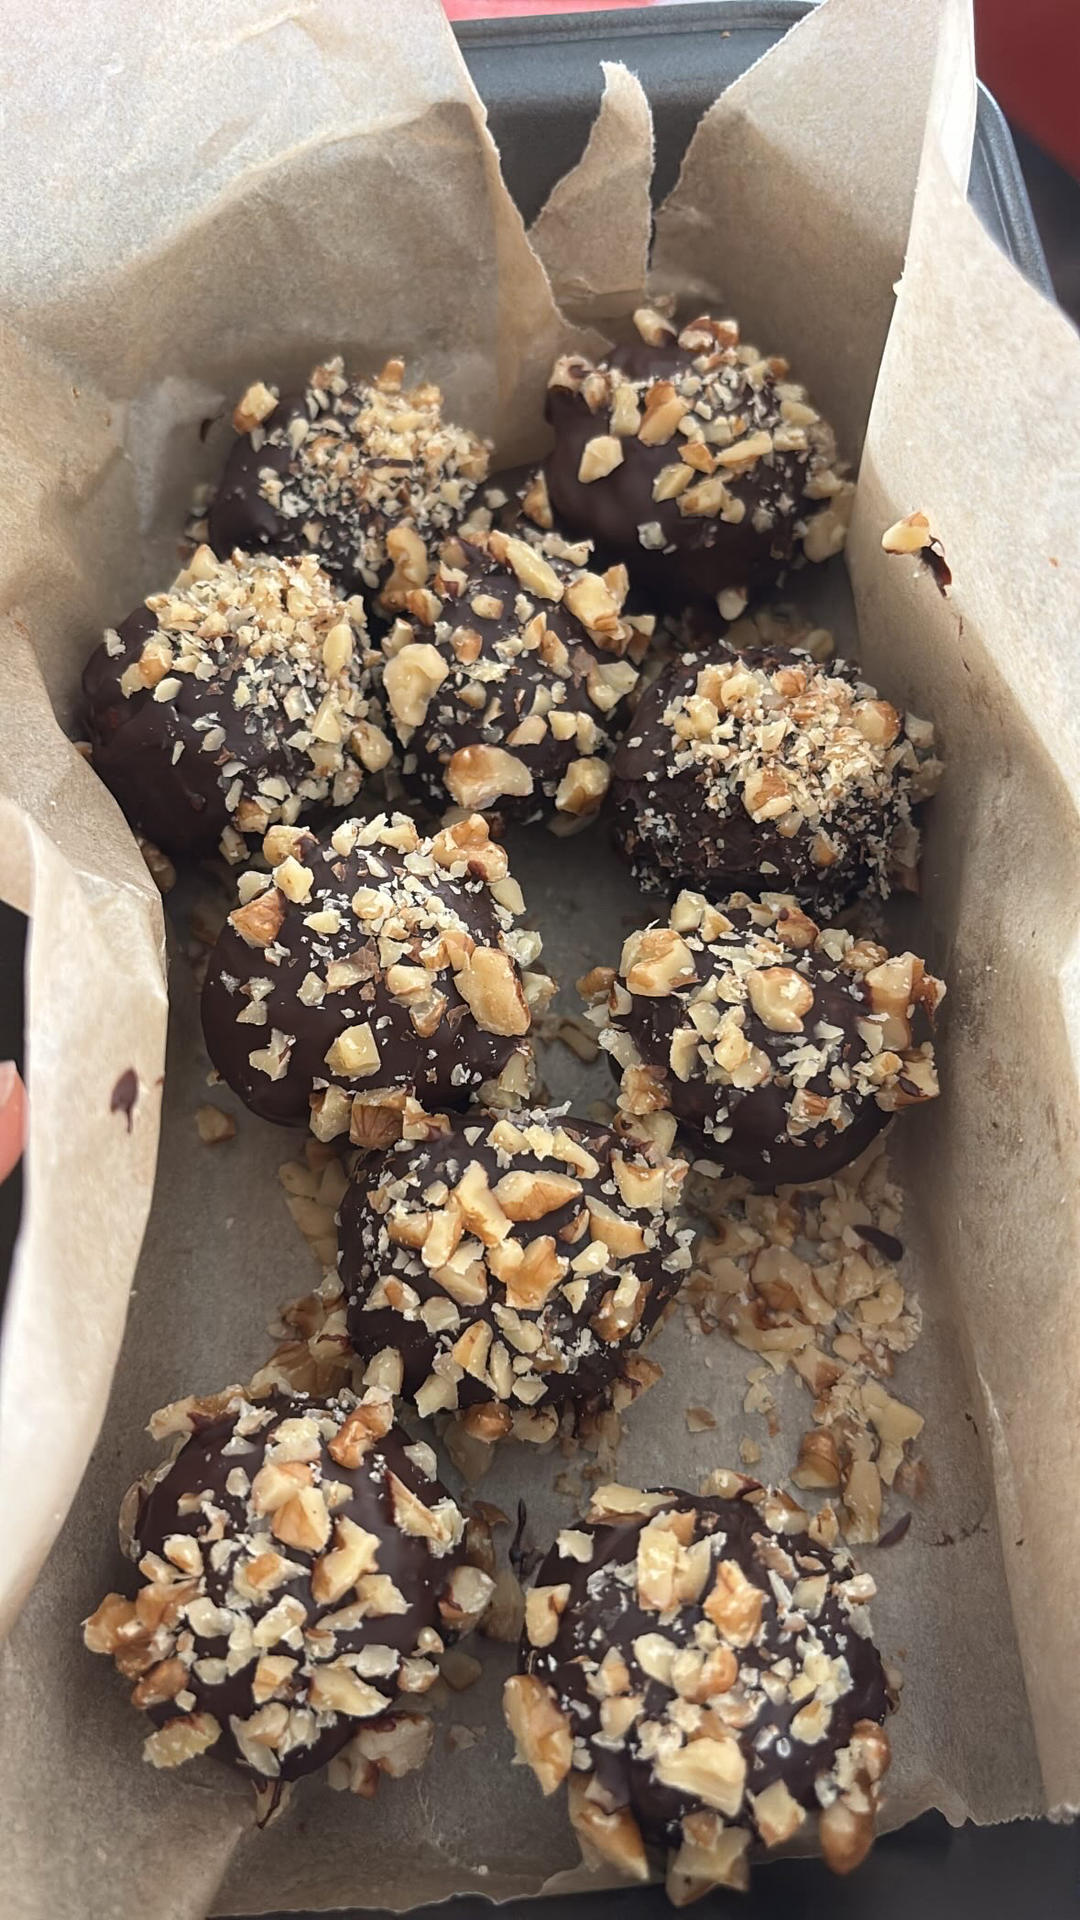 A generous nut coating adds delightful texture and nutty fragrance.
Storage & Serving Tips
- Choosing Clean Chocolate Chips: When shopping for chocolate, check the label carefully for hidden additives like soy lecithin, sunflower lecithin, palm oil, or refined white sugar. I always reach for Hu Organic Dark Chocolate Baking Chips—they have only 3 clean, organic ingredients: organic cacao, organic unrefined coconut sugar, and organic fair trade cocoa butter (65% cacao for rich dark chocolate, or 45% for semi-sweet). They melt beautifully into a velvety coating without any weird aftertastes.
- Refrigeration: Store in an airtight container in the fridge for up to 1 to 2 weeks.
- Freezing: These freeze exceptionally well! Keep them in a freezer-safe container or bag for up to 2 months. You can eat them straight from the freezer for a firm, chewy candy-bar-like bite.
- Best Serving Experience: If chilling in the fridge, let them rest at room temperature for 5–10 minutes before serving. This allows the date-peanut center to soften into a velvety fudge while keeping the chocolate shell crisp.