Super Creamy Probiotic Yogurt Recipe (Using Instant Pot)
Posted by Mira on May 1, 2025 in recipes
I love growing probiotic bacteria at home!
Yogurt is wonderful for our bodies, especially for people with gut issues. Did you know that many diseases are linked to gut problems? And often, the reason for these gut issues is a poor diet high in sugar and processed foods, which destroys the good bacteria, allows bad bacteria to thrive, and weakens the immune system.
Making yogurt at home is very easy, and it’s incredibly delicious. What a great way to enjoy yourself and take care of your body!
I’ve been perfecting my yogurt recipe for a while, and I finally found the best way to make yogurt that’s super creamy, delicious, and healthy.
Contents
Ingredients
- 1 quart (32 oz) half-and-half
- 2-3 tablespoons yogurt starter
- (optional) 1 tablespoon inulin
- (optional) 1 capsule of probiotics
Why use half-and-half?
Special note: The magic of this recipe is that it doesn’t just use whole milk — it uses something even richer: half-and-half. You can use whole milk, but the result won’t be nearly as thick and creamy as when you use half-and-half.
Half-and-half is a mixture of half whole milk and half cream, making it thicker and creamier than whole milk. It’s a dairy product commonly found in the U.S. If you can’t find it where you are, you can easily make your own by mixing equal parts whole milk and cream.
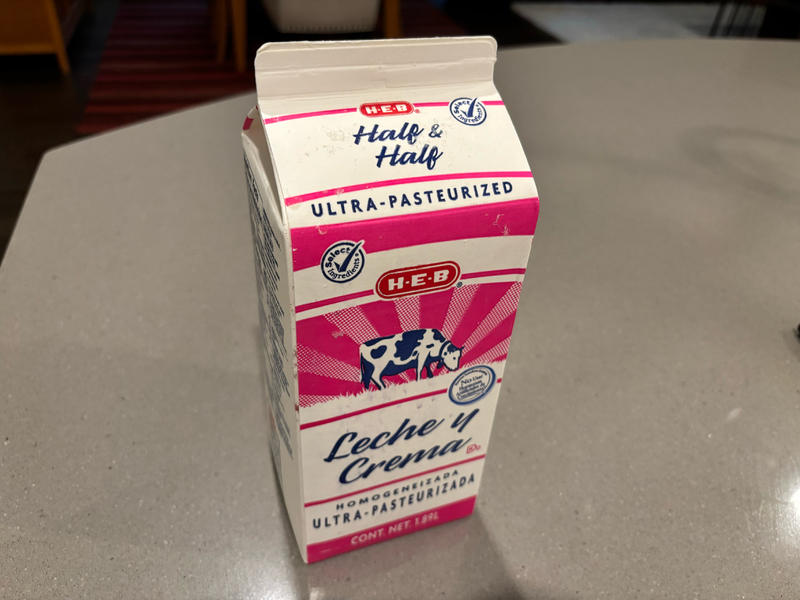 Homogenized Half-and-half
I love using half-and-half because it’s thicker and creamier than whole milk, and it also has more fat than whole milk, which helps me increase my fat intake.
I was also very lucky to find an organic, unhomogenized half-and-half: Kalona Organic Half-and-Half. You can find it at Central Market or Whole Foods. It's very rare. Homogenized milk is processed to look smoother on the shelf, but this also alters its structure and can reduce its nutritional value.
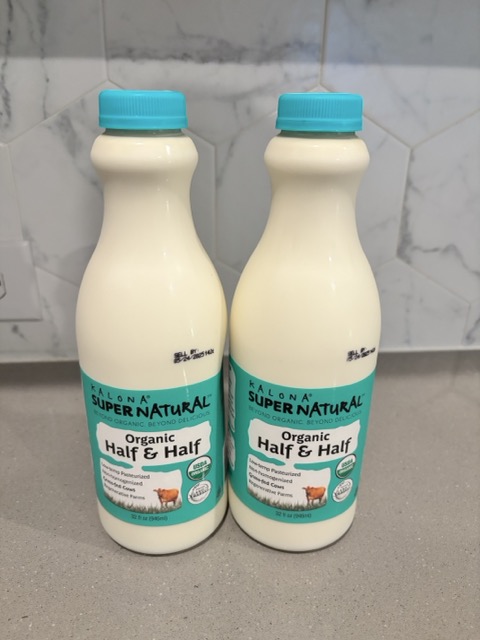 Kalona Organic Unhomogenized Half-and-Half

 Kalona Organic Unhomogenized Half-and-Half Cream on the top
How to choose a good yogurt starter
Not all store-bought yogurts can be used as a starter. A high-quality yogurt should have only two ingredients: milk and live cultures. A responsible brand should list all the bacteria strains it contains. Many yogurts in supermarkets are actually junk food, mainly made of sugar and starch, with dead probiotics. “Live” cultures are essential!
My favorite yogurt to use as a starter is White Mountain Whole Milk Probiotic Bulgarian Yogurt, as the ingredients are clearly listed: Organic Grade A Pasteurized Whole Milk and Live Cultures (L. acidophilus, L. bulgaricus, S. thermophilus, B. bifidum). (They also offer a fat-free version, but as you know now, I’m a big fan of full-fat.)
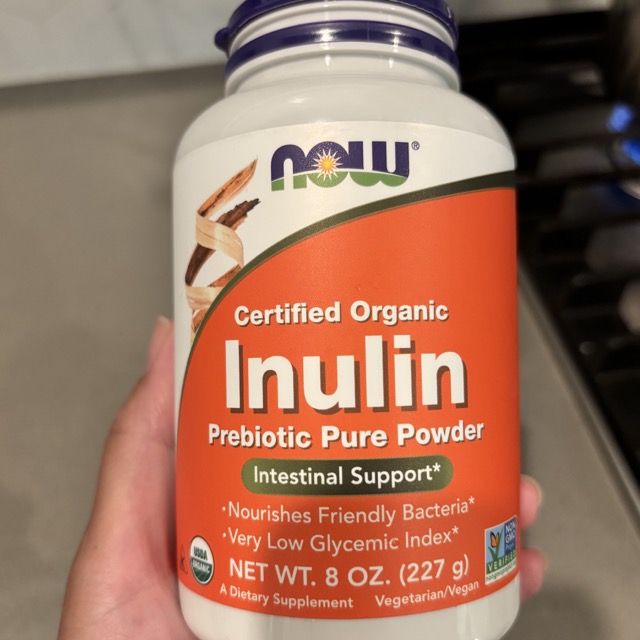
(Optional) Why use inulin?
Inulin is a prebiotic that helps feed the probiotics, which helps the yogurt ferment better and faster. When using inulin, it takes less time to ferment. I use NOW Inulin Prebiotic Pure Powder, which is affordable and high quality.
Tools
- Instant Pot (here is: Instant Pot Duo Plus)
- Heating pot
- Glass jar for yogurt
- Spoon
- (Optional) Measuring spoons
Instructions
1. Heat the milk
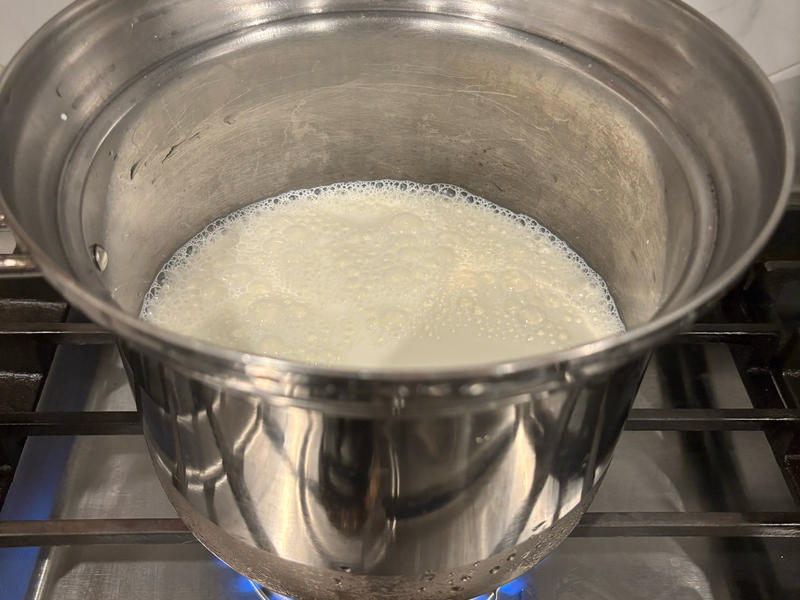
Heat the half-and-half in a pot over medium heat until a thin film (or skin) forms on the surface. Heating the milk denatures its proteins, which helps create a smooth, thick texture when the yogurt ferments.
(Optional) Add 1 tablespoon of inulin. Inulin is a prebiotic that helps feed the probiotics, which helps the yogurt ferment better and faster.
 NOW Inulin Prebiotic Pure Powder
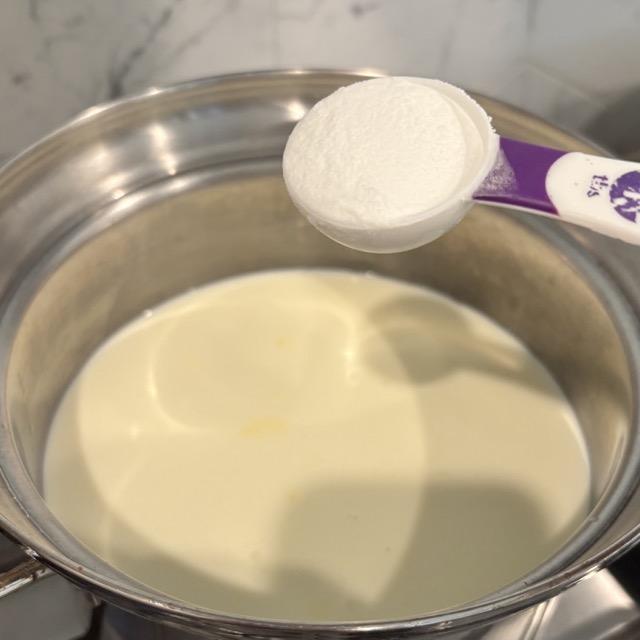 Adding Inulin to the heated milk
Tip: watch out for the milk’s bloom. It can easily be overcooked.
Tip: If you want to add inulin, be sure to mix it into the heated milk. The heat will kill any germs that may come with the inulin from the package. If you add it when the milk is cold, you risk introducing unwanted bacteria strains.
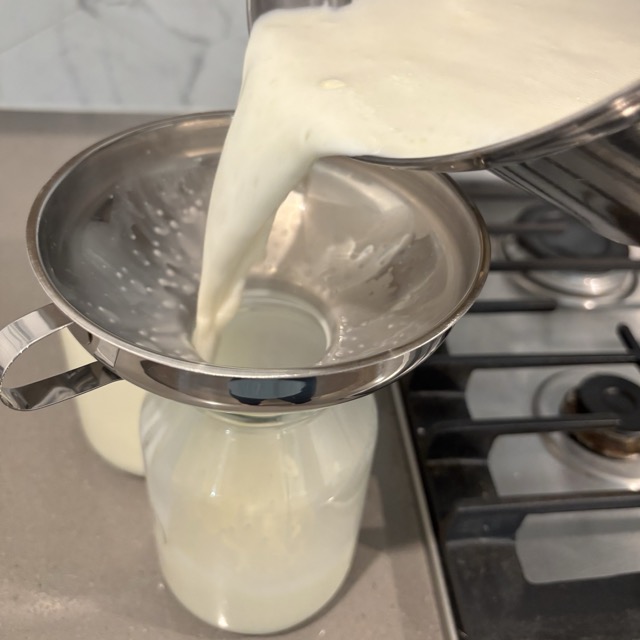
2. Sanitize the yogurt container
Wash the yogurt container (glass jar) with soap and water, then rinse it with hot water.
Tip: This is very important — you don’t want other bacteria growing in the container, as it could spoil the yogurt.
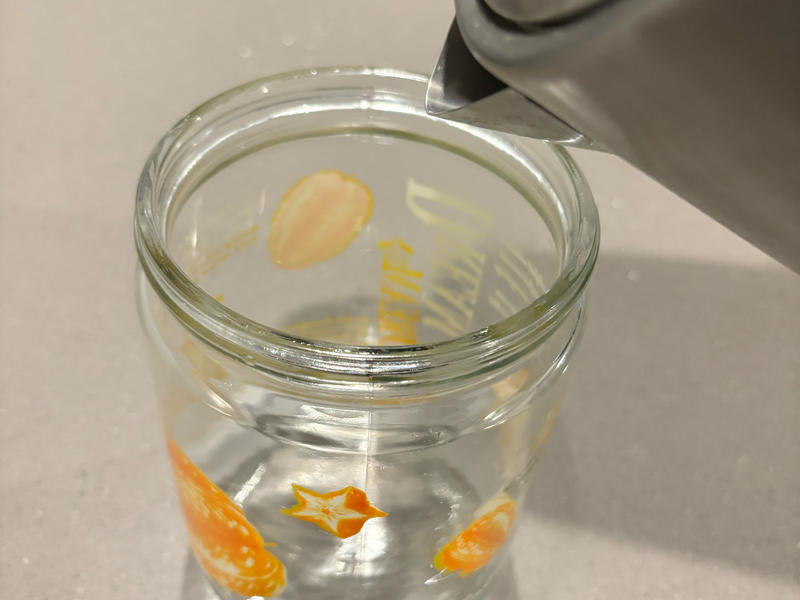
3. Cool the half-and-half
 Pouring the half-and-half into a glass jar
 Letting the half-and-half cool to between 110°F and 115°F (43°C to 46°C)
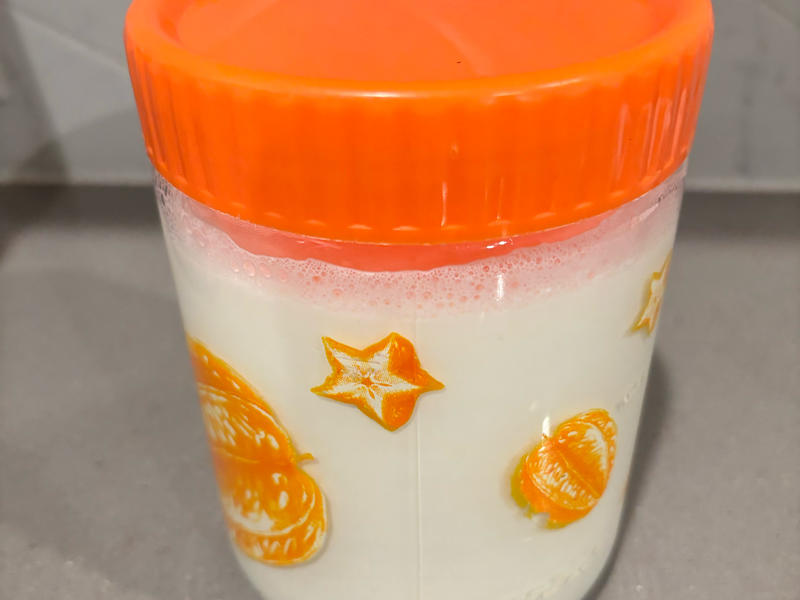
Pour the half-and-half into a glass jar and let it cool to between 110°F and 115°F (43°C to 46°C) — the jar should feel just slightly warm to the touch.
Tip: If you want to cool the half-and-half more quickly, you can place the jar in ice water. Just be careful not to let it cool too much, or the yogurt won’t set. If it’s too hot, the bacteria in the yogurt starter may die.
 Cooling the half-and-half faster by placing the jar in ice water
4. Add the yogurt starter
 Yogurt starter, ready to use
 Adding the yogurt starter to the half-and-half
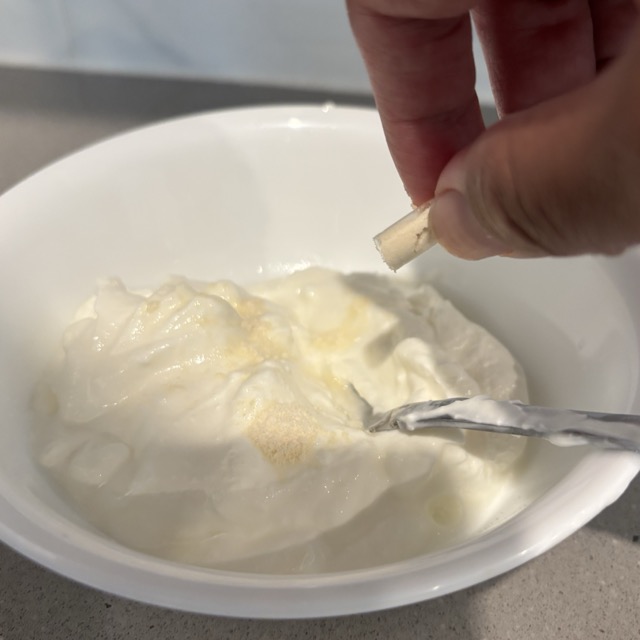
Scald a spoon with hot water to sterilize, let it cool, then take two to three large spoonfuls of yogurt starter and add it to the warmed half-and-half. Mix it evenly.
(Optional) You can also add 1 capsule of probiotics. Break the capsule and stir it into the half-and-half. This will add additional probiotics to the yogurt.
 Adding probiotics to the half-and-half
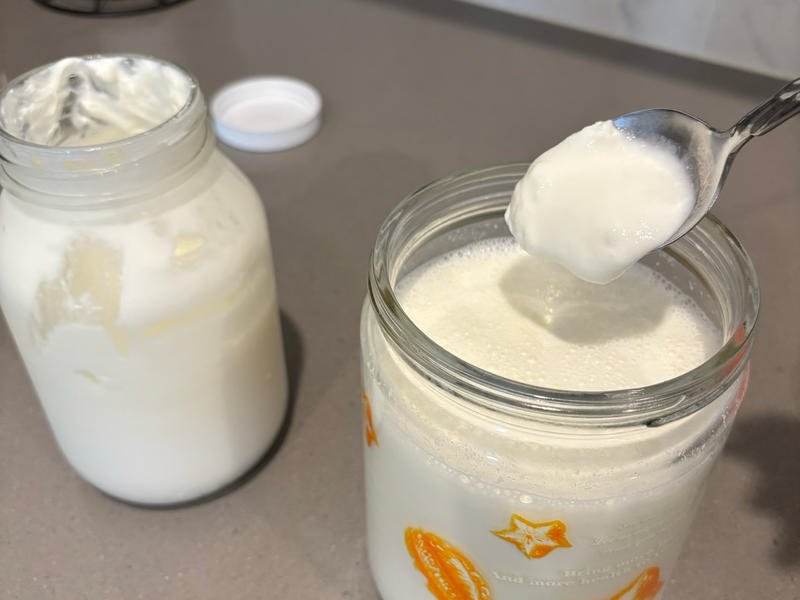
Tip: I like to use the liquid part of the yogurt starter. This way, I can save the thicker part to enjoy later. The thinner part, called whey, also contains many live probiotics — best of both worlds!
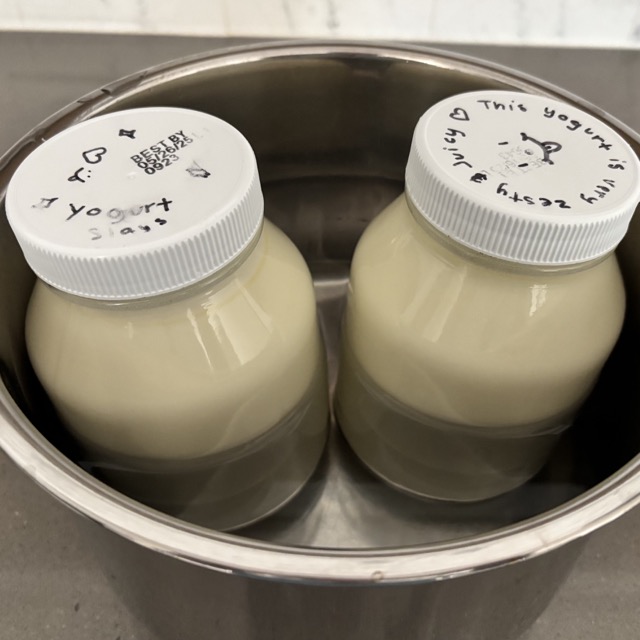
5. Place the jar in the instant pot
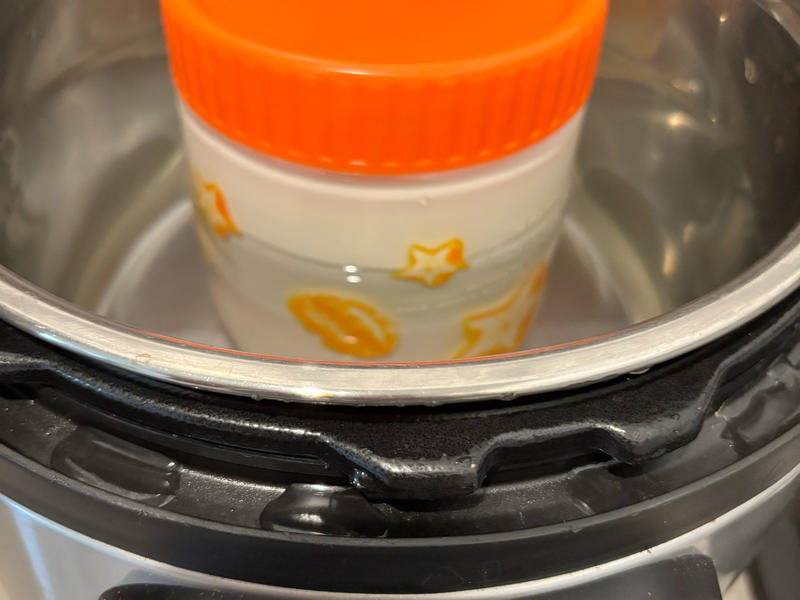
Add water to the Instant Pot and place the milk bottle into the water.
Tip: It’s best to add more water so that most of the bottle is submerged for even fermentation. You can use less water, but it should be at least 2 cm high.
6. Ferment
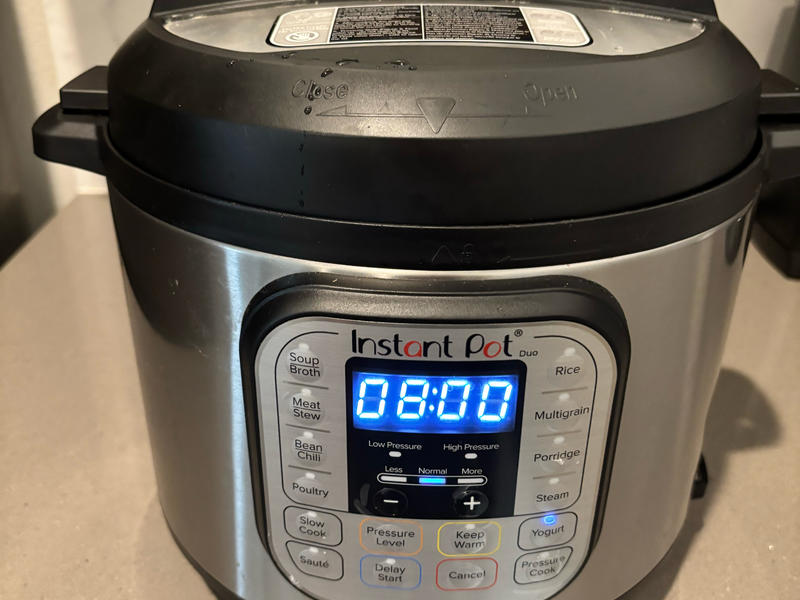
Close the lid, set the Instant Pot to yogurt mode, and set the time for 8 hours. Check every 1 hour after 4 hours to see if the yogurt has set. If it has, you can remove it from the Instant Pot.
The fermentation process can take ranging from 4 to 12 hours, depending on the amount the quality of starter, whether inulin is used, and size of the jar.
Tip: Due to various factors (amount of starter, milk fat content, temperature, etc.), the fermentation speed can vary. To prevent over-fermentation, I set two alarms — one at 4 hours and another at 6 hours — to check. If the milk has fully set, I stop fermentation immediately to keep the yogurt from becoming too sour.
Tip: If you used inulin, it will take less time to ferment. When I used inulin, it took about 4 hours to ferment.
Tip: At the beginning, resist the urge to keep opening the lid. Let the bacteria grow undisturbed! Otherwise, fermentation will take longer.
7. Wait
Find something to do in the meantime.
Tip: Never start making yogurt in the evening! Otherwise, you might spend the night worrying about over-fermentation and have trouble sleeping. It’s best to start in the morning or around midday.
8. Refrigerate
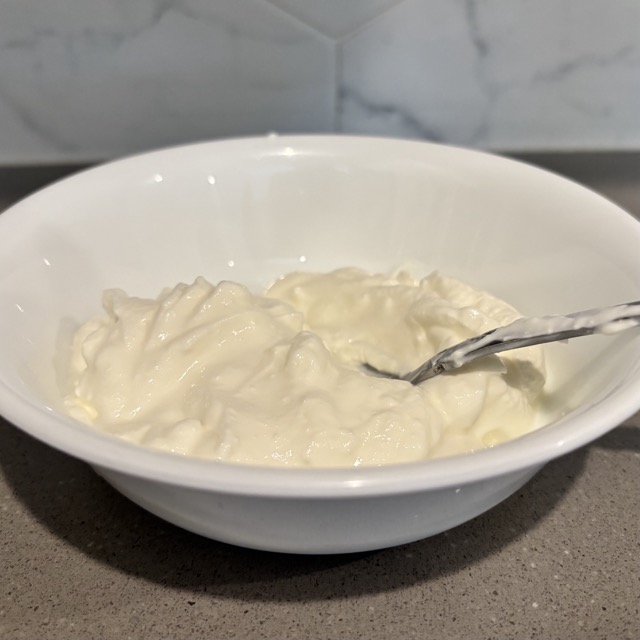
Once the yogurt has fully set from the bottom to the top of the bottle, it’s ready. Immediately transfer the bottle to the fridge to cool. This stops the fermentation process. Let it sit overnight, and it’ll be ready to enjoy in the morning!

Tip: I usually tilt the bottle slightly to check if the milk moves. If it stays in place, it’s set.
Tip: If the yogurt is fermented too long, it will separate into curds and whey.
Tip: Sometimes when the yogurt looks set but I want it a little thicker and tangier, I turn off the Instant Pot and let it sit for another 2 hours. This allows it to cool gradually to room temperature before transferring it to the fridge. This way, the yogurt will be thicker and tangier, but not separated.
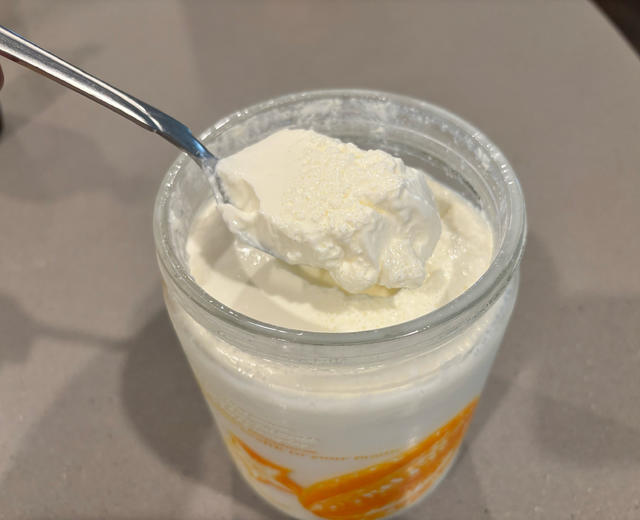
9. Serve
Making yogurt makes me happy. My daughter used to complain about tummy aches, and I didn’t know what was causing them. So, I started making this yogurt every day and encouraged her to eat as much as she wanted. Within days, she told me the aches were gone. These healthy bacteria have been amazing!